How to Take Out a Dishwasher A Practical Guide
Swapping out an old dishwasher is one of those upgrades that can instantly modernize your kitchen. But before the shiny new one can move in, the old clunker has to go. Taking out a dishwasher isn't about brute force; it's a methodical process. You'll need to shut off the power and water, unhook the drain and supply lines, free it from the mounting brackets, and then gently slide the whole unit out.
Your Game Plan for Removing a Dishwasher
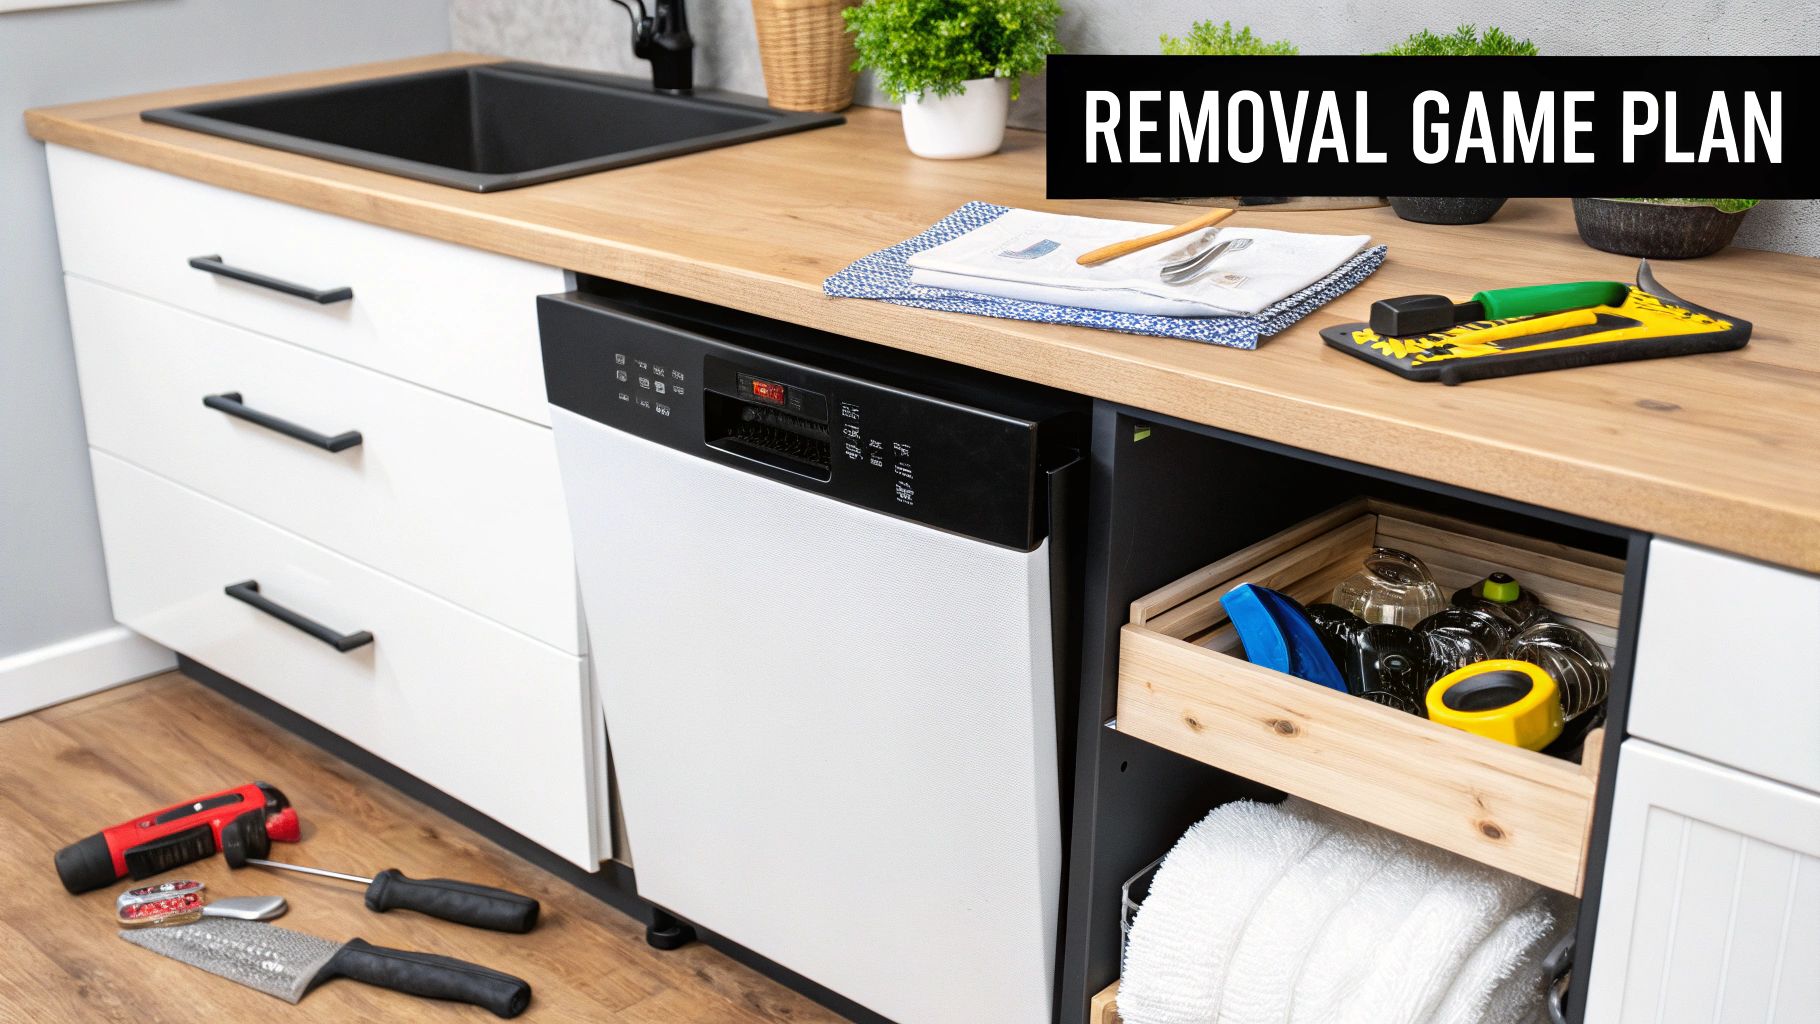
Successfully pulling out a built-in dishwasher is all about having a plan. If you just jump in without the right tools or a clear sequence of steps, you’re setting yourself up for a frustrating afternoon filled with extra trips to the hardware store and maybe even some damage to your kitchen. This guide is your complete playbook, walking you through the entire process so you know exactly what’s coming before you even touch a screwdriver.
Think of it as your roadmap. We’ll cover it all—from the critical initial safety checks to that satisfying moment when you slide the old appliance out of its home. A step-by-step approach keeps you safe and protects your cabinets, flooring, and plumbing from any accidental scrapes or leaks.
Gather Your Tools and Supplies
Before you even think about turning a wrench, get all your gear in one place. Having everything you need within arm’s reach is the secret to a smooth project. There’s nothing worse than being hunched under a sink, halfway through disconnecting a water line, only to realize the wrench you need is out in the garage. Most of these are common household tools, but one or two specialty items will make this job a whole lot easier.
Once you get your dishwasher out, you might feel empowered to take on other DIY plumbing projects. But for now, let's stick to the task at hand. Here's a quick checklist of what you'll need to get it done.
A non-contact voltage tester is a cheap but absolutely essential tool. It’s the only way to be 100% sure the power is off before you start touching wires. This is a non-negotiable safety item for any project involving electricity.
After the dishwasher is out, the last piece of the puzzle is getting rid of it. For environmentally conscious homeowners, calling a professional junk removal service is the easiest and most eco-friendly option. Fulton Junk Removal works hand-in-hand with its parent company, Beyond Surplus, to provide a circular, eco-friendly solution that goes beyond traditional junk hauling.
Essential Tools & Supplies Checklist
Here’s a breakdown of everything you should have ready before you get started.
| Tool/Supply | Purpose | Pro Tip |
|---|---|---|
| Adjustable Wrench | To loosen and tighten water supply line connections. | Keep two on hand—one to hold the fitting steady and another to turn the nut. This prevents twisting the copper pipe. |
| Screwdriver Set | For removing mounting bracket screws and access panels. | A multi-bit screwdriver saves space and ensures you have the right Phillips or flathead size. |
| Pliers | Useful for disconnecting the drain hose clamp. | Channel-lock pliers give you the best grip, especially on those stubborn spring-style clamps. |
| Non-Contact Voltage Tester | To safely verify that electricity is shut off. | Always test it on a known live outlet first to make sure it's working properly before you test the dishwasher wiring. |
| Old Towels & Shallow Pan | To catch residual water from hoses. | Shove towels under the sink connections and slide the pan under the front of the dishwasher before you start. |
| Work Gloves & Safety Glasses | To protect your hands and eyes from sharp edges and debris. | Don't skip these. The metal edges under appliances and countertops can be surprisingly sharp. |
| Utility Knife | For cutting away old caulk or sealant around the dishwasher. | Go slow and be careful not to scratch the countertop or surrounding cabinetry. |
Having these items laid out and ready to go will make the entire removal process go much more smoothly.
Safety First: Disconnecting Power and Water
Before you grab a single tool, let's talk about the two things that absolutely cannot mix: water and electricity. When they’re both hooked up to your dishwasher, you have to treat the removal process with respect. Getting this wrong can lead to a nasty shock or a flooded kitchen, so take your time and do it right.
The whole job, from start to finish, can take anywhere from 30 minutes for a simple setup to 2 hours if you run into stubborn connections. In the U.S., about 70% of households have built-in dishwashers like yours, and nearly 40% of the time, people call in a pro for removal, costing between $100 to $250. If you want to dive deeper into why, you can explore the market trends that show how complex these appliances can be.
Locating and Shutting Off the Circuit Breaker
First things first: kill the power.
Head to your home's main electrical panel—it's usually tucked away in the basement, garage, or a utility closet. You'll see rows of breakers, hopefully with labels. But don't just trust a faded, decade-old label that says "Dishwasher." You need to be 100% certain.
Here’s a foolproof way to find the right one:
- Start a wash cycle on the dishwasher. You should hear it humming or filling with water.
- Go to the panel and start flipping breakers you think might be for the kitchen.
- The moment the dishwasher goes silent, you’ve found it. Flip that breaker all the way to the OFF position and leave it there.
Now for the critical double-check. Go back to the dishwasher with a non-contact voltage tester. This little tool is a lifesaver. Touch the tip of the tester to the dishwasher's control panel and then to the metal junction box where the wiring is, usually found behind the front kick plate. If it stays quiet and dark, the power is officially off.
Turning Off the Water Supply
With the electricity handled, it's time to deal with the water.
Look under your kitchen sink. You’ll see the main hot and cold water pipes going to the faucet. Branching off the hot water pipe should be a smaller, separate valve—that’s the one that feeds your dishwasher.
Turn the handle clockwise until it stops. Be gentle! Old valves can get stiff or brittle. If it’s stuck tight, you can try giving it a little encouragement with a pair of pliers, but if it feels like it’s about to snap, don't force it. Your backup plan is to shut off the main water supply to the entire house while you work.
Pro Tip: After you’ve closed the valve, turn on the hot water at your kitchen sink. If the flow slows to a trickle and stops, you know the dishwasher line is successfully shut off. This move also releases any trapped pressure in the hose, which helps prevent a surprise spray-down later.
Finally, lay down a few old towels and slide a shallow pan under the dishwasher's water connection. Even with everything turned off, there's always a little water left in the supply line that's going to spill out. A few seconds of prep here will save your cabinets and floors from a watery mess.
If any of this sounds like a headache, or you find a corroded valve that won’t budge, it might be a good time to call in the experts. Our teams handle these situations daily and can take care of it safely for you. You can learn more about our professional junk removal services and let us handle the heavy lifting.
Freeing the Dishwasher: Hoses and Brackets
Alright, with the power and water shut down, it’s time to get to the satisfying part—actually disconnecting the dishwasher from your kitchen. This is where you physically separate the machine from the plumbing and cabinetry. We’ll be tackling three key connections: the water supply line, the drain hose, and the mounting brackets holding it in place.
Take your time here. Rushing is a recipe for stripped fittings, torn hoses, or lost screws. Remember those towels and the shallow pan you set out? You’re about to see exactly why they were a good idea.
Tackling the Water and Drain Lines
First up, let's disconnect the water supply line. You’ll usually find this flexible, braided steel hose connected to the dishwasher's water inlet valve, tucked away at the front left corner behind that bottom kick plate. Grab an adjustable wrench and turn the connecting nut counter-clockwise to loosen it. It's a good idea to use a second wrench or a pair of pliers to hold the valve itself steady so it doesn't twist with the nut.
Expect a little water to spill out once it’s loose—maybe a cup or so. This is totally normal and it's the leftover water from the line. Just let it drain into your pan before you move the hose completely out of the way.
Next is the drain hose. This is the corrugated plastic tube that runs from the dishwasher over to your sink's drain pipe or garbage disposal. It’s typically held on with a simple spring clamp or a screw clamp. Use your pliers to squeeze the tabs on a spring clamp or a screwdriver to loosen a screw clamp, then gently wiggle the hose free. Be ready for some trapped, and probably funky-smelling, water to dribble out of this one, too.
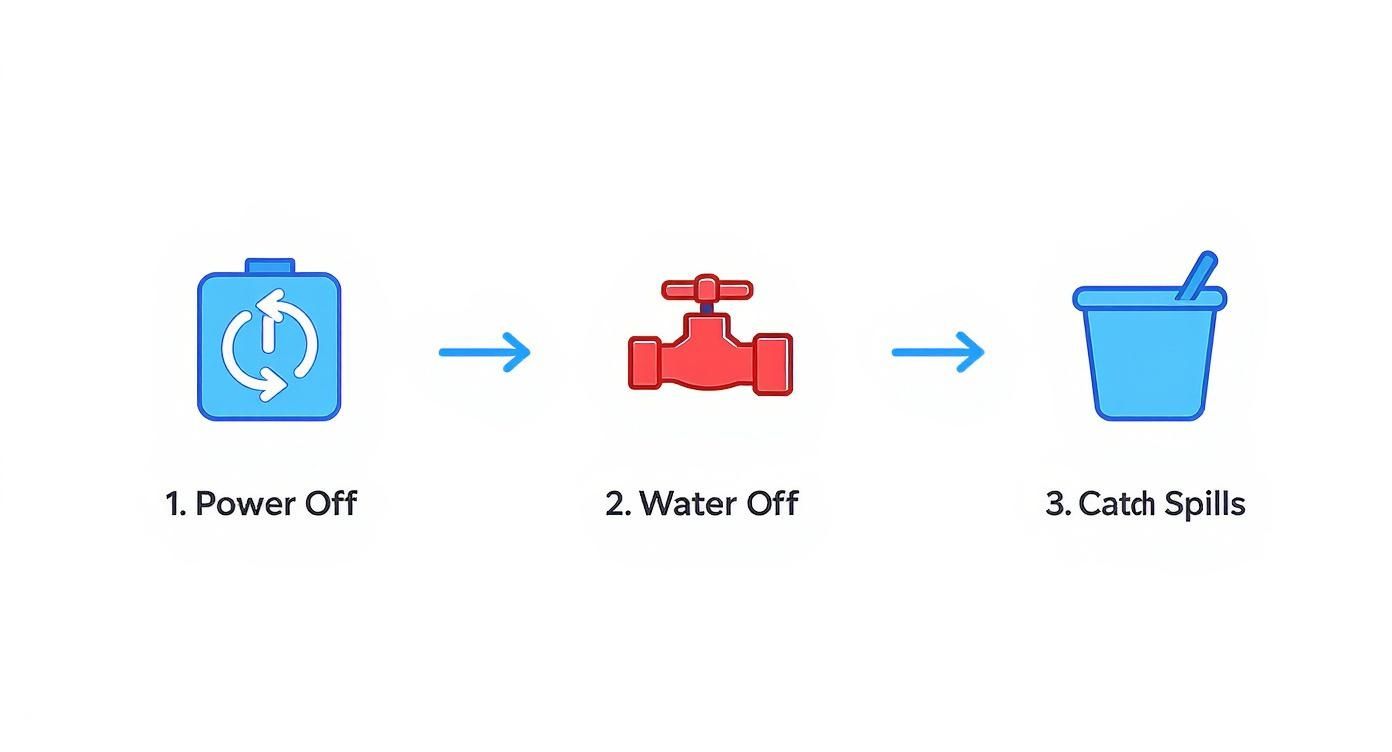
This quick visual is a great reminder that getting the safety prep right makes these next steps smooth and spill-free.
Finding and Removing the Mounting Brackets
This is the step that trips up so many people. Your dishwasher is screwed to the underside of the countertop to keep it from tipping forward when you pull out the racks. If you forget these mounting brackets, that machine isn't going anywhere, no matter how hard you pull.
Pro Tip: To find them, open the dishwasher door all the way and look up along the top frame. You should see two small metal tabs, each fastened to the countertop with a single screw. A simple Phillips head screwdriver is all you need to back them out.
In some kitchens, especially those with granite or quartz countertops, the installer might have attached the brackets to the sides of the neighboring cabinets instead. If you don't see them up top, shine a flashlight along the sides of the dishwasher frame. Once those screws are out, the dishwasher is officially untethered and ready to be removed.
If you find yourself tackling a few home improvement projects, check out our Fulton Junk Removal blog for more guides on appliance and furniture removal.
Now that the brackets are gone and the lines are disconnected, give the dishwasher a gentle wiggle. It should feel loose, which is your green light to move on to the final step: sliding it out.
Gently Sliding the Dishwasher Out of Its Space

With all the connections severed, it’s time for the final move: sliding the dishwasher out of its tight enclosure. This part requires more finesse than force. Just yanking on it is a surefire way to scratch your floors, dent your cabinets, or snag the very hoses you just disconnected.
A slow and steady approach is your best bet here.
The first thing to do is create a little extra wiggle room. Most dishwashers have adjustable front feet that were screwed down to level the unit and raise it snugly against the countertop. By turning these feet counter-clockwise, you can lower the entire machine by a fraction of an inch—which often makes all the difference.
Protecting Your Floors and Creating a Path
Before you even think about pulling, you need to protect your flooring. Kitchen floors, whether they're hardwood, vinyl, or tile, are no match for the weight and sharp metal edges of an appliance.
Lay down a large piece of flattened cardboard or an old moving blanket right in front of the dishwasher. This creates a smooth, slick surface for the unit to slide onto without gouging your floor. The cardboard also acts like a mini-ramp, helping the dishwasher's feet glide over the edge of the flooring instead of getting stuck.
A common mistake I see is forgetting about the rear leveling legs. Some models have a central screw at the front base that adjusts the back. If you can't find one, gently rocking the unit side-to-side as you pull can help "walk" the back feet forward without them digging in.
Once your protective layer is down, you can start to gently pull the dishwasher straight out. Keep a close eye on the hoses and power cord to make sure they don't get hung up on cabinet corners or pipes. It really helps to have a second person guiding them from under the sink as you slide the unit out.
If the appliance is especially heavy or awkward, you may want to use essential house moving tools like dollies or sack trucks to move it across the room once it's clear of the cabinet.
Handling Common Obstacles
Sometimes, even after adjusting the feet, the dishwasher just gets stuck. It happens. Here are a few common hangups and how to solve them:
- Caught on Flooring: The front edge of the dishwasher might catch on the lip of your finished flooring, especially if it was installed after the cabinets. The cardboard trick usually solves this.
- Insulation Snags: That sound-dampening insulation blanket wrapped around the dishwasher can bunch up and catch on the cabinet frame. A simple putty knife is perfect for gently tucking it back in as you pull.
- Hidden Screws: Take one last look to make sure you removed all the mounting screws. It’s not unheard of for installers to add an extra one on the side that you might have missed.
Once the dishwasher is completely out, you're on the home stretch. The next step is figuring out how to dispose of it responsibly.
If you need a hand with the heavy lifting and want an eco-friendly disposal solution, check the different junk removal service areas we cover. We’ll make it hassle-free.
Responsible Disposal for Your Old Dishwasher
You did it. You wrestled that old dishwasher out from under the counter, and now it's sitting awkwardly in the middle of your kitchen. The hard part’s over, right? Well, almost. The final step is figuring out what to do with this bulky appliance. Just dragging it to the curb usually isn't an option, as most local waste services won't pick up large items like this.
While most junk removal companies take everything to the landfill, we recycle through Beyond Surplus to minimize waste and maximize reuse. A dishwasher is a complex machine made of steel, plastic, copper wiring, and various electronic parts. When it gets dumped, all those valuable materials are wasted. A much better approach is to make sure it gets properly repurposed or recycled.
Why Professional Junk Removal Is the Smartest Choice
This is where a service like Fulton Junk Removal comes in. Instead of taking the direct-to-dump route that most haulers do, we operate with an eco-friendly mission. We don't see your old dishwasher as trash—we see it as a collection of resources that can be recovered and put back to use.
Fulton Junk Removal works hand-in-hand with Beyond Surplus to recycle electronics, metals, and other materials responsibly.
- Metal Recovery: The steel body, racks, and other metal components are separated and sent to be repurposed.
- Electronics Recycling: The control panel and internal wiring contain valuable materials. These are handed over to e-waste specialists for proper processing.
- Diverting from Landfills: This careful, deliberate separation ensures Fulton diverts items from landfills and ensures they’re repurposed or recycled.
This sustainable approach is more important than ever. In 2024, the global dishwasher market was valued at a massive USD 35.57 billion, and it's projected to climb to USD 44.42 billion by 2033. This growth means more and more households will be upgrading their appliances, highlighting a rising demand for professional, eco-conscious removal services. You can learn more about how market dynamics are shaping appliance disposal needs.
The Fulton Junk Removal and Beyond Surplus Advantage
For offices, warehouses, and property managers, our integrated service is a game-changer. Fulton handles junk removal, and Beyond Surplus ensures responsible recycling, making compliance and sustainability reporting easier.
We can also offer bundled junk removal + recycling pickup, where all electronic waste and recyclable materials are directly processed by Beyond Surplus. If you're clearing out an office and have old computers, monitors, and a dishwasher from the breakroom, we can take care of it all in one trip. Every recyclable item goes straight to Beyond Surplus, simplifying your logistics and maximizing your positive impact.
Choosing a service that prioritizes recycling isn't just about "being green." It’s about making a conscious decision to participate in a more sustainable system. Your old appliance can either become a long-term problem in a landfill or a source of valuable materials for new products.
Ready to clear out that old dishwasher the right way? Let us handle the heavy lifting and responsible disposal. To get a free, no-obligation estimate, just contact our team at Fulton Junk Removal today.
Got Questions? We’ve Got Answers.
Tackling a dishwasher removal for the first time? It’s completely normal to have a few questions. Knowing what to expect can turn a potentially frustrating project into a smooth one. Let's walk through some of the most common things homeowners ask us.
One of the first questions is always about timing. If this is your first time, it's a good idea to block out 1 to 2 hours for the whole job. That gives you a comfortable window to find the shutoffs, disconnect everything without rushing, and ease the dishwasher out. A seasoned pro might get it done in under an hour, but for a DIY project, patience is your best friend.
What Are the Most Common Problems I Might Run Into?
Even the best-laid plans can hit a snag. From our experience, the most common issues are a corroded water shutoff valve that won't budge or finding out the dishwasher is too tall to slide out over the new flooring that was installed after the unit. Another classic is not being able to reach the mounting brackets tucked away under the countertop.
If you’ve got a stuck valve, a little penetrating oil and some patience can work wonders. If the dishwasher won't clear the floor, look for the adjustable feet at the front—screwing them inward will lower the unit just enough to slide it out.
The moment you hit resistance, stop. Don't just pull harder. Most removal problems are solved with a simple adjustment, not brute force.
Can I Just Haul My Old Dishwasher to the Curb?
Probably not. Most city waste services won't pick up large appliances like dishwashers with the regular trash, which puts the burden of disposal on you. The best, most environmentally friendly option is to call a professional junk removal service that makes recycling a priority.
While many haulers take everything straight to the dump, a responsible service makes sure your old appliance is handled correctly. Fulton Junk Removal partners with Beyond Surplus to dismantle appliances, recovering valuable materials like steel and electronics. This keeps a huge amount of waste out of our landfills and supports a more sustainable, circular economy—making it an easy choice for homeowners who care.
Ready to skip the hassle and get rid of that old dishwasher? Fulton Junk Removal provides fast, reliable, and eco-friendly appliance removal. We do all the heavy lifting and guarantee your old unit gets recycled responsibly through our partnership with Beyond Surplus. Schedule your stress-free pickup today!