How to Remove Ceramic Tiles The Definitive DIY Guide
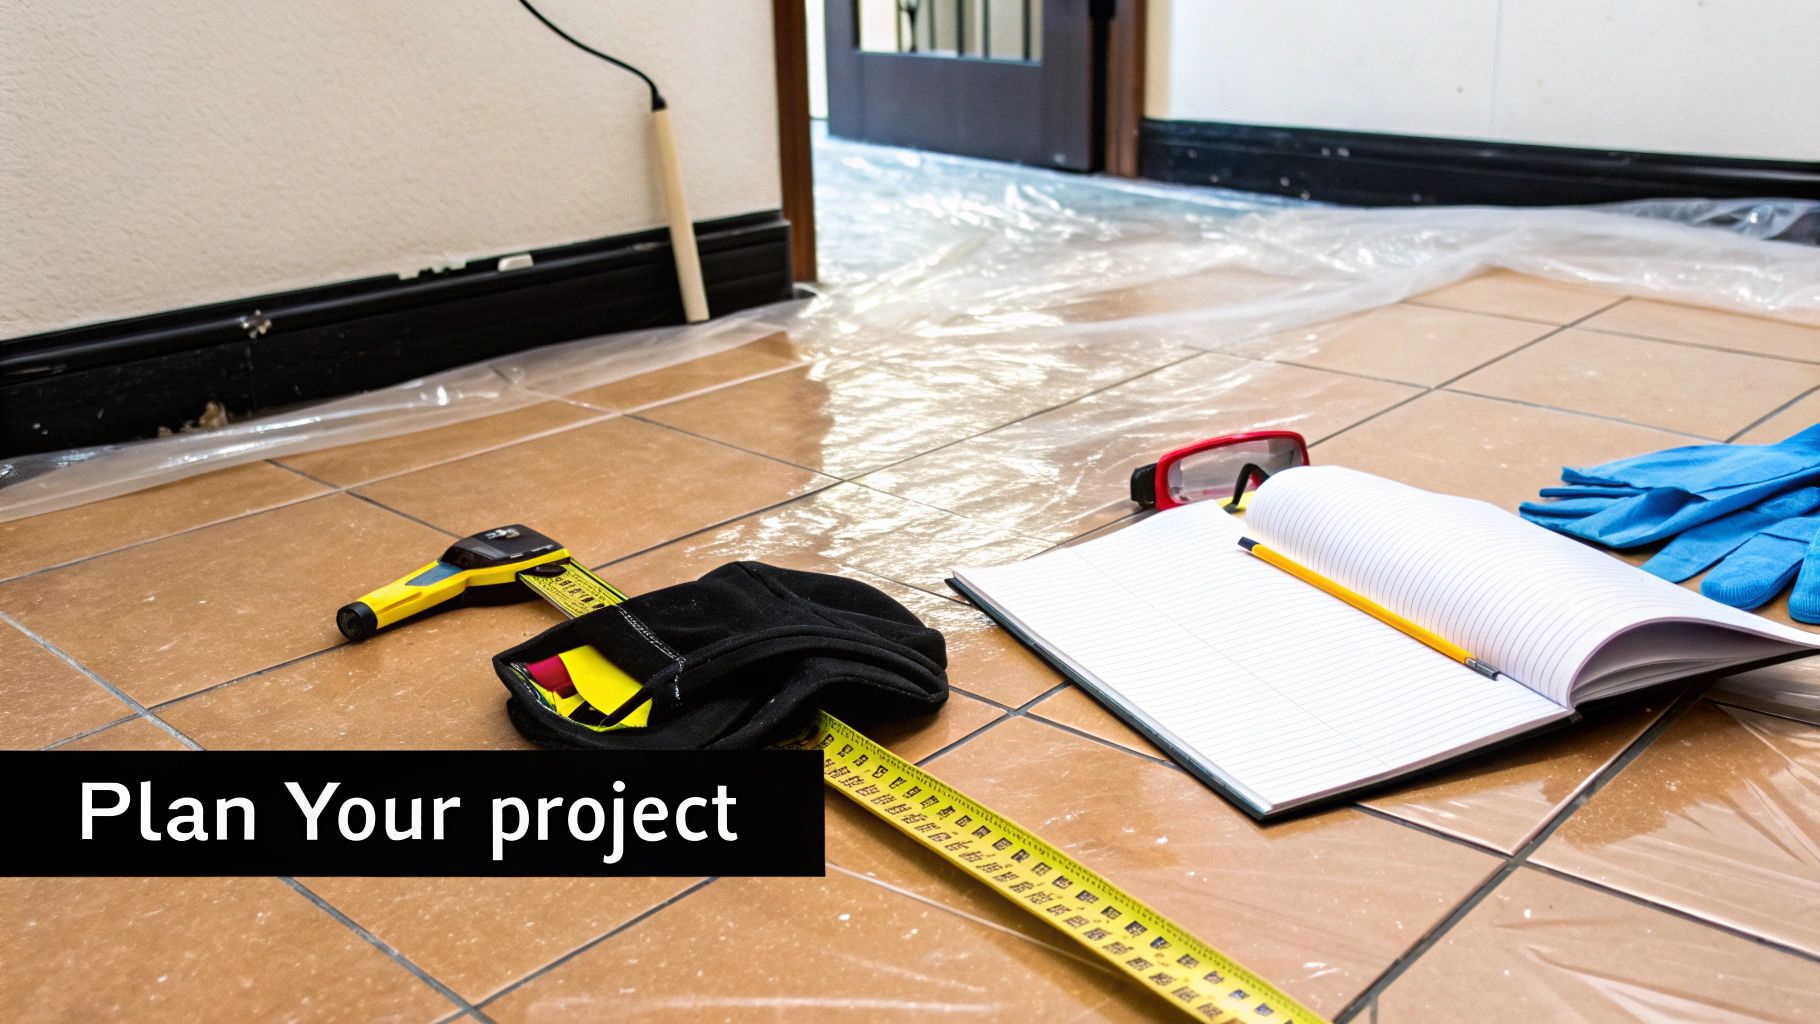
So, you're ready to tackle that old ceramic tile. Good. But before you start swinging a hammer, let's talk strategy. Tearing out tile isn't just about smashing things; it's a methodical process that sets the stage for whatever beautiful new flooring you have planned.
Think of it as four key phases: prep your space, demolish the tiles, clear the adhesive, and manage the cleanup. Get any one of these wrong, and you could be looking at a damaged subfloor, an uneven new installation, or worse—costly repairs you didn't budget for.
Your Game Plan for Ceramic Tile Removal
This is a dusty, labor-intensive job. There’s no sugarcoating it. A flawed removal can haunt your entire renovation, leading to poor adhesion for the new floor or an uneven finish that you'll notice every single day.
This guide gives you a realistic, boots-on-the-ground look at what the project actually involves. We'll walk through the entire process, from taping up the first plastic sheet to hauling away the last bag of debris.
Understanding the Full Scope of Work
Successfully ripping out ceramic tile is more about finesse than brute force. You're working to protect the substrate underneath, whether it's concrete or a wood subfloor. A successful project really boils down to a few key things:
- Thorough Preparation: Dust gets everywhere. And I mean everywhere. Protecting your home or commercial space from the mess is non-negotiable.
- Correct Tool Usage: The right tools will save you from hours of frustration and prevent you from accidentally gouging your subfloor.
- Patience and Precision: Rushing the demolition is the fastest way to create more work for yourself later.
- Responsible Disposal: You'll be left with a pile of heavy, sharp debris. Handling it safely and sustainably is the final, critical step.
The global demand for ceramic tiles is massive. We're talking a market generating $186–$213 billion in recent years, with production hitting over 15.9 billion square meters in 2023 alone. That means countless renovations are happening, creating a huge need for effective removal and disposal services.
Why Responsible Disposal Matters
Once the tiles are up, you’re going to be staring at a mountain of waste. For property managers, offices, or warehouses, this is where a little planning goes a long way. Instead of just sending it all to a landfill, modern projects are focusing more on sustainability.
Partnering with a professional junk removal service that offers eco-friendly solutions ensures your debris is handled responsibly. This approach not only supports environmental goals but also simplifies compliance for businesses.
For our commercial clients, Fulton Junk Removal works hand-in-hand with our partner, Beyond Surplus, to recycle electronics, metals, and other materials responsibly. This diverts a significant amount of waste from local landfills and makes sustainability reporting a breeze. If your project is located in our Atlanta metro coverage area, we can even offer bundled junk removal and recycling pickups, where all electronic waste is processed directly by Beyond Surplus to minimize waste and maximize reuse.
Gearing Up Your Tile Removal Toolkit
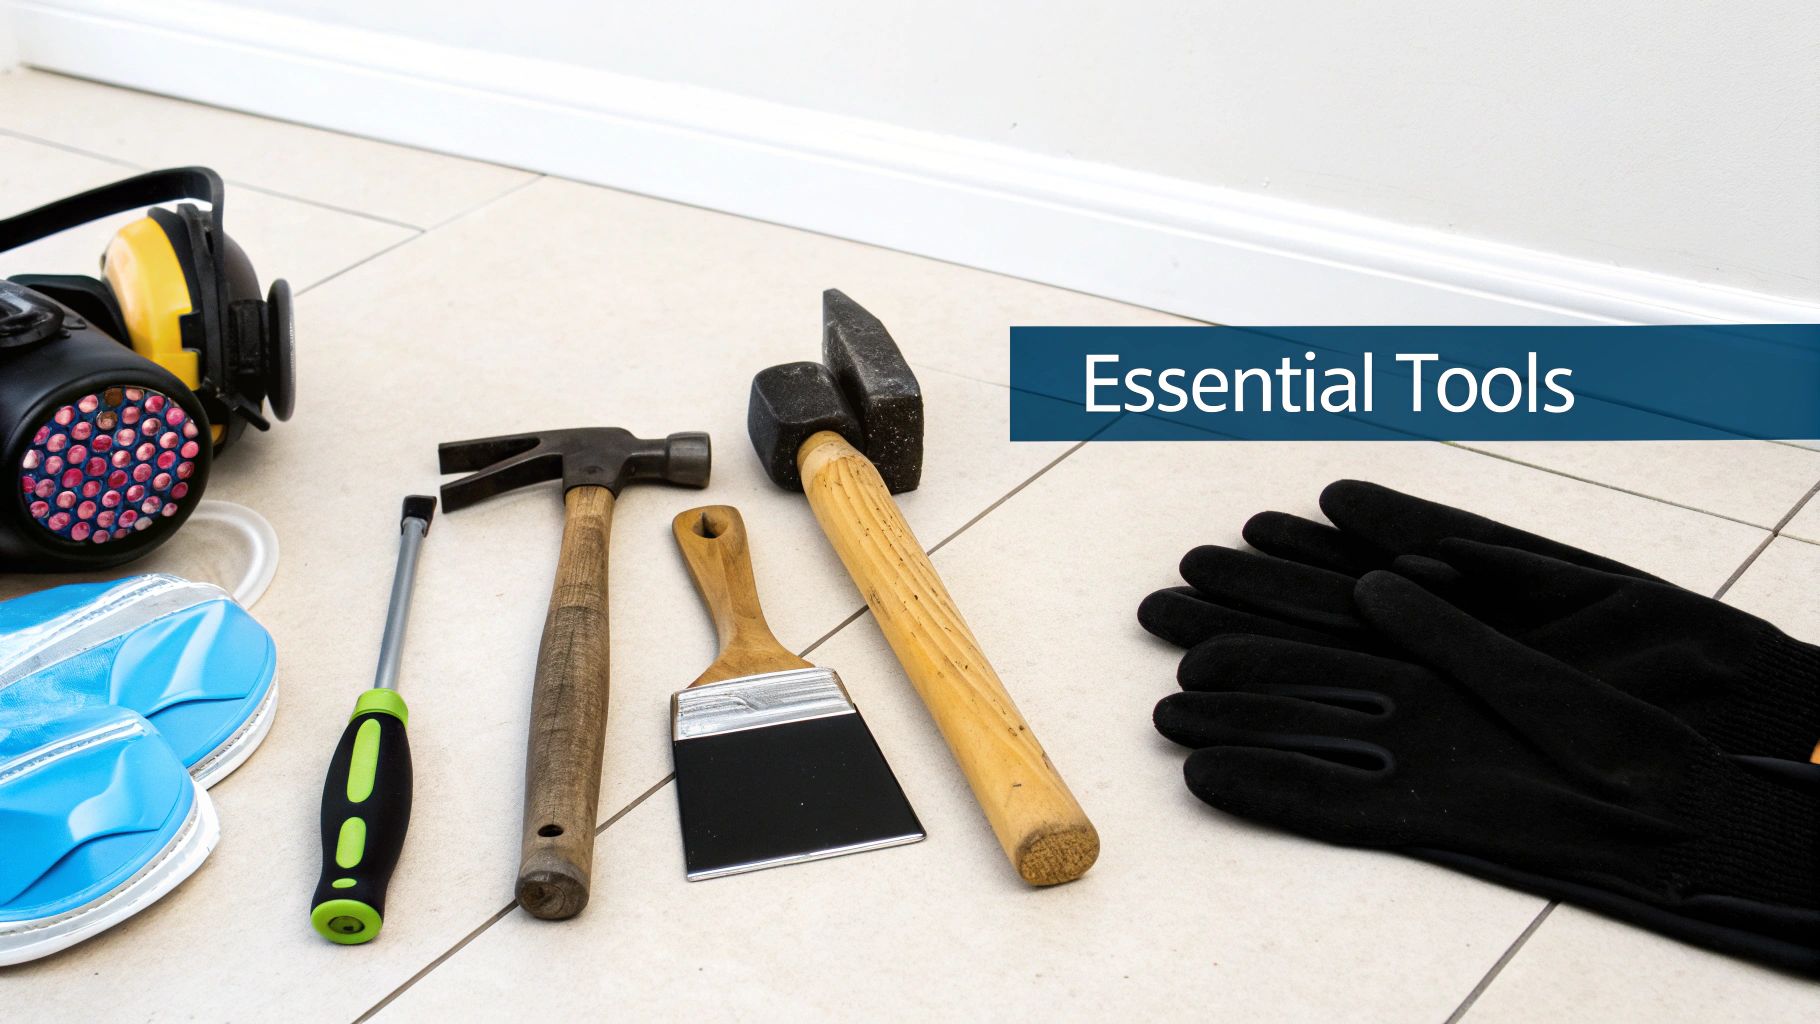
Trying to tackle a tile demolition project without the right gear is a recipe for frustration. It's the difference between a job that goes smoothly and a weekend-long nightmare that ends with a damaged subfloor and sore muscles.
Having the correct tools on hand before you even think about swinging a hammer is absolutely crucial. It not only makes the work go faster but also keeps you—and your home—safe from unnecessary damage.
Protecting Yourself Is Non-Negotiable
Let’s get one thing straight: safety comes first. Before you pry up a single tile, you need to gear up with the right Personal Protective Equipment (PPE). Tearing out ceramic tile is a messy, dusty, and potentially dangerous job.
Flying tile shards can be razor-sharp, and the fine dust you'll kick up often contains crystalline silica. This isn't just regular dust; it's a hazardous material that can cause serious lung problems if you breathe it in. Don't even think about skimping on safety gear.
Your essential PPE kit must include:
- Impact-Resistant Safety Goggles: Your regular eyeglasses won’t cut it. You need full-coverage goggles to protect your eyes from high-velocity debris.
- Heavy-Duty Work Gloves: A good pair of thick leather or reinforced gloves will save your hands from countless cuts, scrapes, and blisters.
- NIOSH-Approved Respirator (N95 or better): A cheap paper mask is useless here. You need a proper respirator designed to filter out the fine silica particles.
- Hearing Protection: If you're bringing in the power tools, a good set of earplugs or over-ear muffs is a must to protect your hearing from the noise.
Choosing Your Demolition Tools
Once you're properly protected, it’s time to build your toolkit. The good news is you don’t always need to rent heavy-duty machinery. For most residential bathrooms, kitchens, or entryways, a few solid hand tools will get the job done. But for bigger or tougher jobs, you might want to call in some backup.
Here’s a look at the tools you'll need, broken down into what’s essential versus what’s a nice-to-have for larger projects.
Essential vs. Optional Tools for Tile Removal
| Tool Category | Essential Tools (Must-Have) | Optional Tools (For Larger/Tougher Jobs) | Pro Tip |
|---|---|---|---|
| Striking Tools | 3-pound sledgehammer (hand maul) for cracking tiles. | Rotary Hammer for concrete slab jobs. | A smaller hammer gives you more control and is less likely to damage the subfloor. |
| Prying & Scraping | Mason's chisel or cold chisel for getting under tiles. | Electric Floor Scraper/Tile Stripper for massive areas. | A wide-bladed floor scraper is great for quickly removing old thinset after the tiles are gone. |
| Lifting & Leverage | Pry bar to lift stubborn tiles. | Jackhammer with a spade bit for extreme commercial tear-outs. | Look for a pry bar with a flat, wide end to minimize gouging in the subfloor. |
| Power Assistance | None for small jobs. | Hammer Drill with a chisel bit to speed up large floor or wall removals. | Always start with the lowest power setting on your drill to see how the tile responds. |
Choosing the right tool often comes down to the scale of your project. For a small bathroom floor, the "must-have" column is probably all you'll need. But if you're tearing out tile from an entire house, investing in some power tools will save your back and a ton of time.
Hand Tools vs. Power Tools: Making the Right Call
For most DIYers, a 3-pound sledgehammer paired with a good mason's chisel is the go-to combination. The hammer provides enough force to break the tile's bond, and the chisel is perfect for wedging underneath to pop it loose. You'll also want a sturdy floor scraper or pry bar for lifting tiles and scraping off any loose gunk left behind.
Pro Tip: Do yourself a favor and get a chisel with a built-in hand guard. After a few hours of swinging a hammer, a missed strike is inevitable. That little piece of plastic will save your knuckles from a world of pain.
If you're facing a huge room or tiles that were set in what feels like concrete, it might be time to bring in the power tools. A hammer drill with a chisel attachment is a game-changer. It does the hard percussive work for you, breaking up tile and thinset much faster than you could by hand. For truly massive jobs, pros might even use a walk-behind electric tile stripper, but that’s usually overkill for a home project.
Once the demolition is done, you're left with the cleanup. For more tips on managing debris and other renovation projects, check out the articles on the Fulton Junk Removal blog.
The Art of Tile Demolition
Alright, you've got your gear on and the room is prepped. Now for the fun part. Tile demolition is where the real transformation begins, turning a dated surface into a pile of rubble and a clean slate for your new project. But this isn't just about swinging a hammer—it’s about a methodical approach that gets the old tile out without wrecking the substrate underneath.
Whether you're tackling a floor or a wall, the basic idea is the same. You need to break the bond between the tile and the thinset with just enough force, working your way across the surface without causing bigger headaches like a splintered subfloor or a gaping hole in your drywall. A little patience here will save you a ton of repair work later.
Finding Your Perfect Starting Point
Every demolition project needs an entry point. The path of least resistance is to find a natural weak spot. Give the tiles a quick inspection—scan the floor or wall for any that are already cracked, loose, or sound hollow when you tap them with the back of a screwdriver. These are your golden tickets.
If every tile is cemented in place like it’s guarding a fortress, you’ll have to create your own opening. Resist the urge to smash the center of a tile. That’s a rookie mistake that sends shockwaves into the subfloor and can cause serious damage. Instead, the grout line is your best friend.
- Attack the Grout: Grab a grout removal tool or a sharp utility knife and start scoring and digging out the grout around a single tile. This isolates it from its neighbors, giving you a clean edge to pry against.
- Create a Crack (Carefully): If that grout is tougher than old jerky, the next best thing is to create a small, controlled crack. Goggles on. Place the tip of your chisel right in the center of a tile and give it one sharp, solid whack with your hammer. You're not trying to shatter it; you're just creating a fracture to exploit.
Once you get that first tile out, the rest of the job gets exponentially easier. Honestly, popping that first one is often the hardest part of the whole demo.
Executing the Demolition Cleanly
With your starting point open, it’s time to get into a rhythm. The secret to clean, efficient tile removal is all in the angle of your chisel. You’re not trying to dig down through the floor; you’re trying to slide under the tile and pop it loose from the adhesive.
Wedge your mason's chisel into the gap you made, keeping it at a shallow angle—think about 30 to 45 degrees. You want to aim the tip right where the bottom of the tile meets the thinset.
A huge mistake I see people make is going in too steep. A sharp downward angle just drives the chisel straight into the subfloor, leaving you with gouges and splintered wood. Picture using a spatula to get a cookie off a baking sheet—you slide under it, you don't stab it.
Give the chisel a few firm but controlled taps with your hammer. You'll feel the tile start to give and lift. Just work your way around the edges until it pops off completely. From there, it's a domino effect—move to the next tile, always attacking it from an exposed edge.
Floor Demolition Techniques
When you're pulling up floor tiles, gravity is your friend, but so is the risk of damaging the subfloor hiding beneath.
Always start at your entry point and work your way across the room toward the door. This simple strategy keeps you from trapping yourself in a corner, forced to walk over the sharp debris you just created. As you go, be diligent about clearing the broken tiles into a bucket or a heavy-duty contractor bag. A messy workspace is a dangerous one.
For big floors, especially those on a concrete slab, a hammer drill with a wide chisel bit is an absolute game-changer. It delivers the heavy-duty percussion needed to break through stubborn, old thinset and will save your arms and back a world of hurt. Just remember to maintain that shallow angle to avoid chewing up the concrete below.
Wall Demolition Strategies
Taking tiles off a wall requires a bit more finesse because you're fighting gravity the whole time. The tiles above where you're working will be itching to fall, so it's always best to start at the top and work your way down. This prevents a sudden cascade of heavy, sharp ceramic from crashing down on you or your fixtures.
The hammer and chisel technique is the same, but keep your free hand ready to catch tiles as they come loose. I find that a smaller hammer gives you much better control on a wall and seriously reduces the chances of accidentally punching a hole straight through the drywall.
If you hit a patch that just won't budge, a heat gun can be your secret weapon. Gently warm the surface of the tile for a minute or two to soften the adhesive underneath before you start prying. This trick works wonders on mastic, an adhesive commonly used for wall tile.
This process creates a surprising amount of heavy, sharp debris. For larger projects, like renovating an office or retail space, figuring out disposal ahead of time is critical. A service like Fulton Junk Removal, operating under our circular, eco-friendly solution Beyond Surplus, can handle this waste stream responsibly. This integrated approach ensures materials are properly sorted for recycling, which is a huge plus for businesses like offices, warehouses, and property managers needing to meet sustainability goals and simplify compliance reporting.
Mastering Thinset and Adhesive Removal
So, the last tile is finally up. You’re probably breathing a sigh of relief, but hold the celebration for just a minute. The truth is, you've only won the first round. The real fight often starts now, with what’s left behind: a stubborn, bumpy landscape of old thinset mortar or tile adhesive.
Getting this layer off isn't just a suggestion—it's non-negotiable if you want a professional-looking finish on your new floor. Trying to lay new flooring over a lumpy, uneven surface is a surefire recipe for disaster. Your new material won't bond right, tiles can crack under pressure, and you'll feel every single one of those imperfections under your feet. This part of the job requires patience and some serious elbow grease, but getting that substrate perfectly smooth is the most important step for a lasting installation.
The demolition process really follows a simple path, from breaking up the first tile to clearing away the adhesive that’s left.
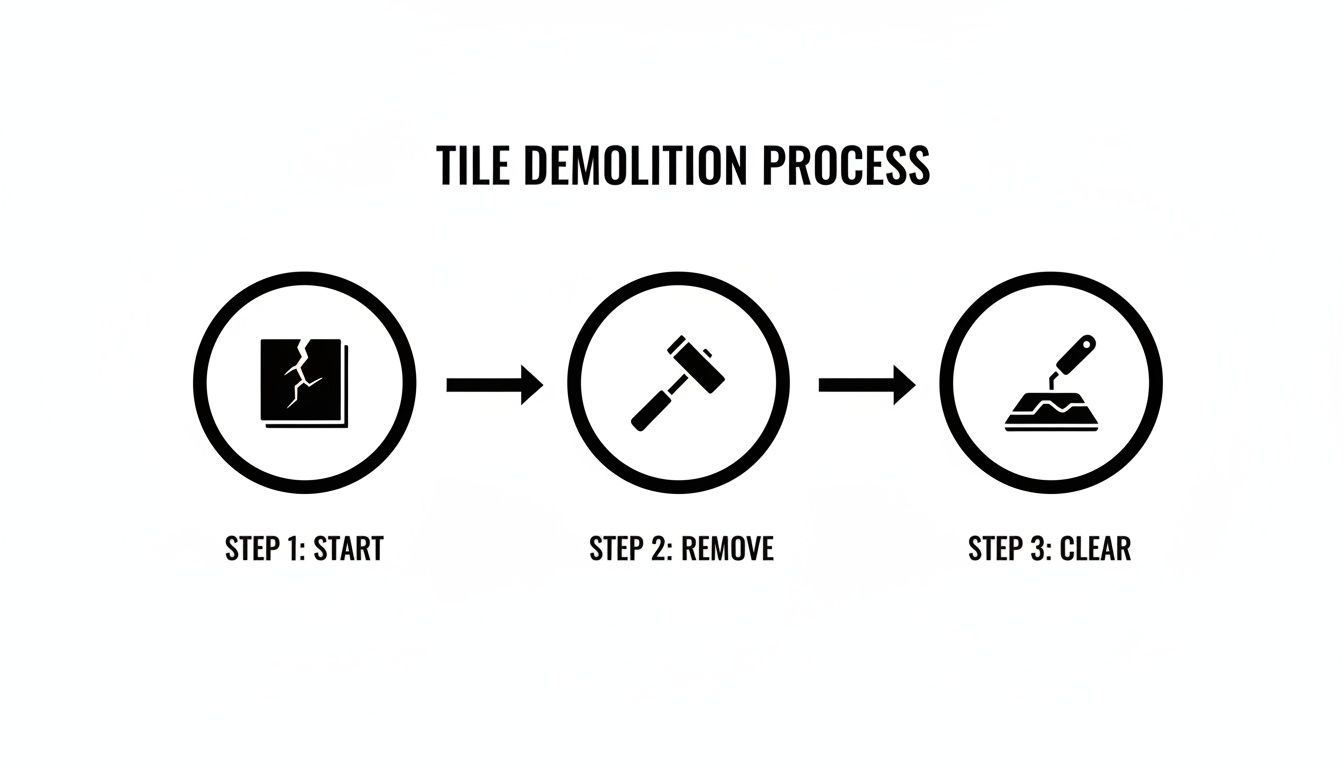
As you can see, clearing away that leftover thinset is the final—and most essential—step before you can even think about putting down something new.
Manual Scraping for Smaller Jobs
If you're tackling a smaller space like a bathroom floor or a kitchen backsplash, you can often get the job done with manual tools. Your best friend here is a long-handled floor scraper with a wide, sharp blade. It’ll give you the leverage you need to chip away and shear off the old thinset without spending hours on your knees.
Start by knocking down any high ridges or big, chunky spots with the scraper. For the really stubborn areas, switch to a hammer and a wide mason's chisel. Just like you did with the tiles, keep the chisel at a low angle to avoid digging into and gouging the subfloor. Sure, it's labor-intensive, but this method gives you maximum control and is perfect for detailed work around pipes or in tight corners.
Power Tools for Tough Thinset
When you're facing a large room or thinset that seems to have become one with the concrete, it's time to bring in the heavy hitters. The right power tool can turn what looks like an all-weekend job into a project you can knock out in a single afternoon.
- Rotary Hammer with a Scraper Bit: This is the professional’s go-to for serious thinset on concrete. The hammering action breaks the bond, and the wide scraper bit lifts the old mortar off in sheets.
- Angle Grinder with a Diamond Cup Wheel: For concrete subfloors, an angle grinder will literally grind the thinset down, leaving behind a smooth, almost polished surface. Be warned: this method creates an incredible amount of dust. A proper dust shroud attachment hooked up to a shop vacuum is an absolute must.
- Electric Floor Scraper: Got a commercial space, a warehouse, or a massive residential project? Renting a walk-behind floor scraper is the most efficient way to go. These machines make short work of both tile and adhesive over huge areas.
No matter which method you choose, dust control is everything. The fine dust from grinding thinset often contains hazardous crystalline silica. Always wear an N95 respirator, seal off the room with plastic sheeting, and use a shop vacuum with a HEPA filter to capture dust right at the source.
Chemical Strippers Versus Mechanical Grinding
Sometimes you’ll run into old mastic or adhesive that’s gummy and sticky instead of hard and brittle. In these situations, forcing it with mechanical tools won't get you very far. A chemical stripper might be a better choice.
| Method | Pros | Cons | Best For |
|---|---|---|---|
| Mechanical Grinding | Fast and extremely effective on brittle thinset. Creates a perfectly smooth finish. | Generates a massive amount of hazardous dust. Incredibly noisy. | Concrete subfloors with stubborn, cement-based thinset mortar. |
| Chemical Strippers | Low-dust and quiet. Great for soft adhesives like mastic. | Can be messy and have strong odors. Requires good ventilation and proper drying time. | Wood subfloors where grinding isn't an option; removing old, gummy adhesives. |
If you go the chemical route, follow the manufacturer's directions to the letter. You’ll usually apply the product, let it sit for a while to dissolve the adhesive, and then scrape up the resulting sludge. Make sure the area is well-ventilated, and remember that the subfloor will need to be cleaned and completely dry before you can install anything new.
For our commercial clients like property managers and offices, the debris from this stage can be overwhelming. Fulton Junk Removal, operating as part of the Beyond Surplus eco-friendly network, offers a seamless solution. We manage the disposal of old thinset, broken tile, and all other renovation waste. This integrated approach ensures recyclable materials are kept out of landfills, which simplifies sustainability reporting and helps your business meet its environmental goals. A clean work environment isn't just about safety; for businesses, it’s about responsible practices.
Smart and Sustainable Debris Disposal

After all the sweat and dust settles, you're left staring at a mountain of sharp, heavy ceramic debris. Figuring out what to do with it is the final, and frankly, most annoying step of any tile removal job.
For a tiny powder room project, you might get away with tossing the debris in heavy-duty contractor bags for curbside pickup. But don't just assume it's okay—always check with your local waste management first. Many have strict rules about weight limits and construction materials.
If you’re tackling anything larger, renting a small dumpster is a popular route. The only problem? You’re still the one stuck hauling every last shard of tile and thinset into it, and you have to be careful not to overfill it.
The Eco-Friendly Junk Removal Alternative
There’s a much smarter, more efficient way to handle this: professional junk removal. Instead of just making a beeline for the landfill, a modern junk removal service can offer a truly sustainable solution. This is a game-changer for businesses, property managers, and anyone with environmental goals.
Let's be honest, while most junk removal companies take everything to the landfill, at Fulton Junk Removal, we do things differently. As part of Beyond Surplus, we take a circular, eco-friendly approach that goes beyond traditional junk hauling. We work hand-in-hand with Beyond Surplus to recycle electronics, metals, and other materials responsibly, ensuring items are diverted from landfills so they can be repurposed.
This really resonates with environmentally conscious homeowners and businesses. When you choose a service that puts recycling first, you’re closing the loop and ensuring your renovation debris is handled responsibly from start to finish.
This commitment to sustainable disposal isn't just a trend; it's becoming a necessity. The global flooring removal market was valued at about USD 3.21 billion in 2024 and is expected to grow as renovations and stricter environmental rules increase. You can learn more about the growth of compliant disposal services right here.
Bundled Services for Commercial Projects
For our commercial clients, the benefits are even clearer. Fulton Junk Removal can offer a bundled junk removal + recycling pickup, where all electronic waste and recyclable materials are directly processed by Beyond Surplus.
This integrated system is a huge win for businesses:
- Simplified Compliance: Fulton handles the junk removal, and Beyond Surplus ensures responsible recycling, making compliance and sustainability reporting easier.
- Maximized Reuse: We make sure every recyclable material, from metal scraps to old electronics, is sorted and processed correctly.
- Landfill Diversion: Our system drastically cuts down on the waste sent to landfills, which helps you meet corporate sustainability goals.
Imagine you're a property manager flipping multiple units or an office manager coordinating a massive renovation. Our streamlined approach saves you time and gives you total peace of mind. Fulton handles the heavy lifting, while Beyond Surplus guarantees responsible recycling. It turns a logistical nightmare into a smooth, eco-conscious process.
To see how this can work for your next project, explore our full range of commercial services.
Deciding Between DIY and Calling a Pro
Let’s be honest: ripping out old ceramic tile is one of those jobs that looks way easier on TV. Before you grab a hammer and start swinging, it’s worth thinking about whether this is a project you really want to tackle yourself. It's a physically brutal, incredibly dusty, and surprisingly time-consuming process.
Weighing the pros and cons is about more than just saving a few bucks. It’s about understanding the potential pitfalls of DIY projects that can turn a weekend task into a month-long headache.
If you’re just dealing with a tiny bathroom floor or a small kitchen backsplash, you can probably handle it. With the right gear and a healthy dose of patience, a motivated DIYer can get it done. But if you're looking at a much larger space—say, an entire office floor, a basement, or multiple rooms—the game changes completely. The sheer volume of broken tile and concrete dust is often staggering.
When to Call in the Professionals
Sometimes, bringing in the experts is the smartest move you can make. It’s probably time to pick up the phone if you’re facing any of these situations:
- Large Square Footage: Anything over 150-200 square feet is where the line between a weekend job and a serious project gets drawn.
- Tight Timelines: Pros have the heavy-duty equipment and experience to demolish and clear a space in a fraction of the time it would take you.
- Physical Limitations: This isn’t light work. It involves hours of kneeling, swinging a hammer, and hauling heavy bags of debris.
- Complex Substrates: If you think there might be underlying issues with the subfloor or you’re dealing with tricky materials, a pro can spot and solve problems before they become costly disasters.
Of course, cost is a major factor. As of 2025, most professional tile removal projects land somewhere around $560. That said, the full range can swing from as little as $100 for a simple job to over $1,300 if the project is complex. The type of tile, the adhesive used, and disposal logistics all play a part in the final price.
For businesses, offices, and property managers, the decision is almost always clear. A professional service like Fulton Junk Removal, operating under Beyond Surplus, doesn't just handle the demo and hauling. We ensure every bit of the debris is recycled responsibly.
This streamlined approach takes the logistical nightmare of debris management completely off your plate. It helps with sustainability reporting, keeps your renovation on schedule, and lets you focus on the next steps, not the cleanup.
If your project demands efficiency and responsible disposal, it's time to contact us for a professional quote.
Common Tile Removal Questions Answered
Every tile removal project comes with its own set of surprises, especially if it’s your first time wrestling with old ceramic. Let's tackle some of the most common questions that pop up.
What If a Tile Just Won’t Budge?
You’ll always find that one tile that seems glued down for eternity. When brute force isn’t working, it’s time to work smarter.
For tiles stuck with a gummy adhesive like mastic, a heat gun is your best friend. A little directed heat softens up that old glue, making it much easier to persuade the tile off the wall or floor without gouging the substrate.
But if you're dealing with stubborn thinset on a concrete slab, hand tools might not cut it. This is where you bring in the big guns—a rotary hammer with a chisel bit. The extra power is usually all it takes to break the bond.
Can I Tile Over Old Thinset?
The short answer? Absolutely not. It's tempting to cut corners here, but laying new tile over old, uneven thinset is a recipe for disaster.
That old mortar creates a lumpy, unstable foundation, preventing the new adhesive from getting a solid grip. Before you know it, you'll have loose, cracked, or hollow-sounding tiles, and your beautiful new floor will be ruined. Complete, clean removal is the only way to guarantee a professional, long-lasting finish.
How Do I Dispose of the Debris?
Once the dust settles, you're left with a heavy pile of sharp, awkward debris. What now? You have a few options, but some are better than others.
You could try bagging it all for curbside pickup, but you’ll need to check your local regulations first—many municipal services have strict limits on construction waste. Renting a dumpster is another option, but for a one-time project, a professional service is often far more efficient and responsible.
For businesses tackling large renovations or homeowners with a mountain of debris, a junk removal company that prioritizes sustainability is the clear winner. They ensure your waste is handled correctly and diverted from landfills whenever possible.
Our team at Fulton Junk Removal partners with recyclers like Beyond Surplus to handle materials in the most eco-friendly way. You can learn more about our eco-friendly mission and see how we help commercial clients manage their project waste responsibly.
Now that the old tile is gone, the fun part begins: picking out the new stuff! To get started on the right foot, check out this guide on how to choose bathroom tile like a pro.
Ready to clear out the debris from your demolition project? Fulton Junk Removal offers fast, reliable, and eco-conscious removal services for businesses and homeowners. Get your free estimate today!