How to Take Apart a Metal Bed Frame the Right Way
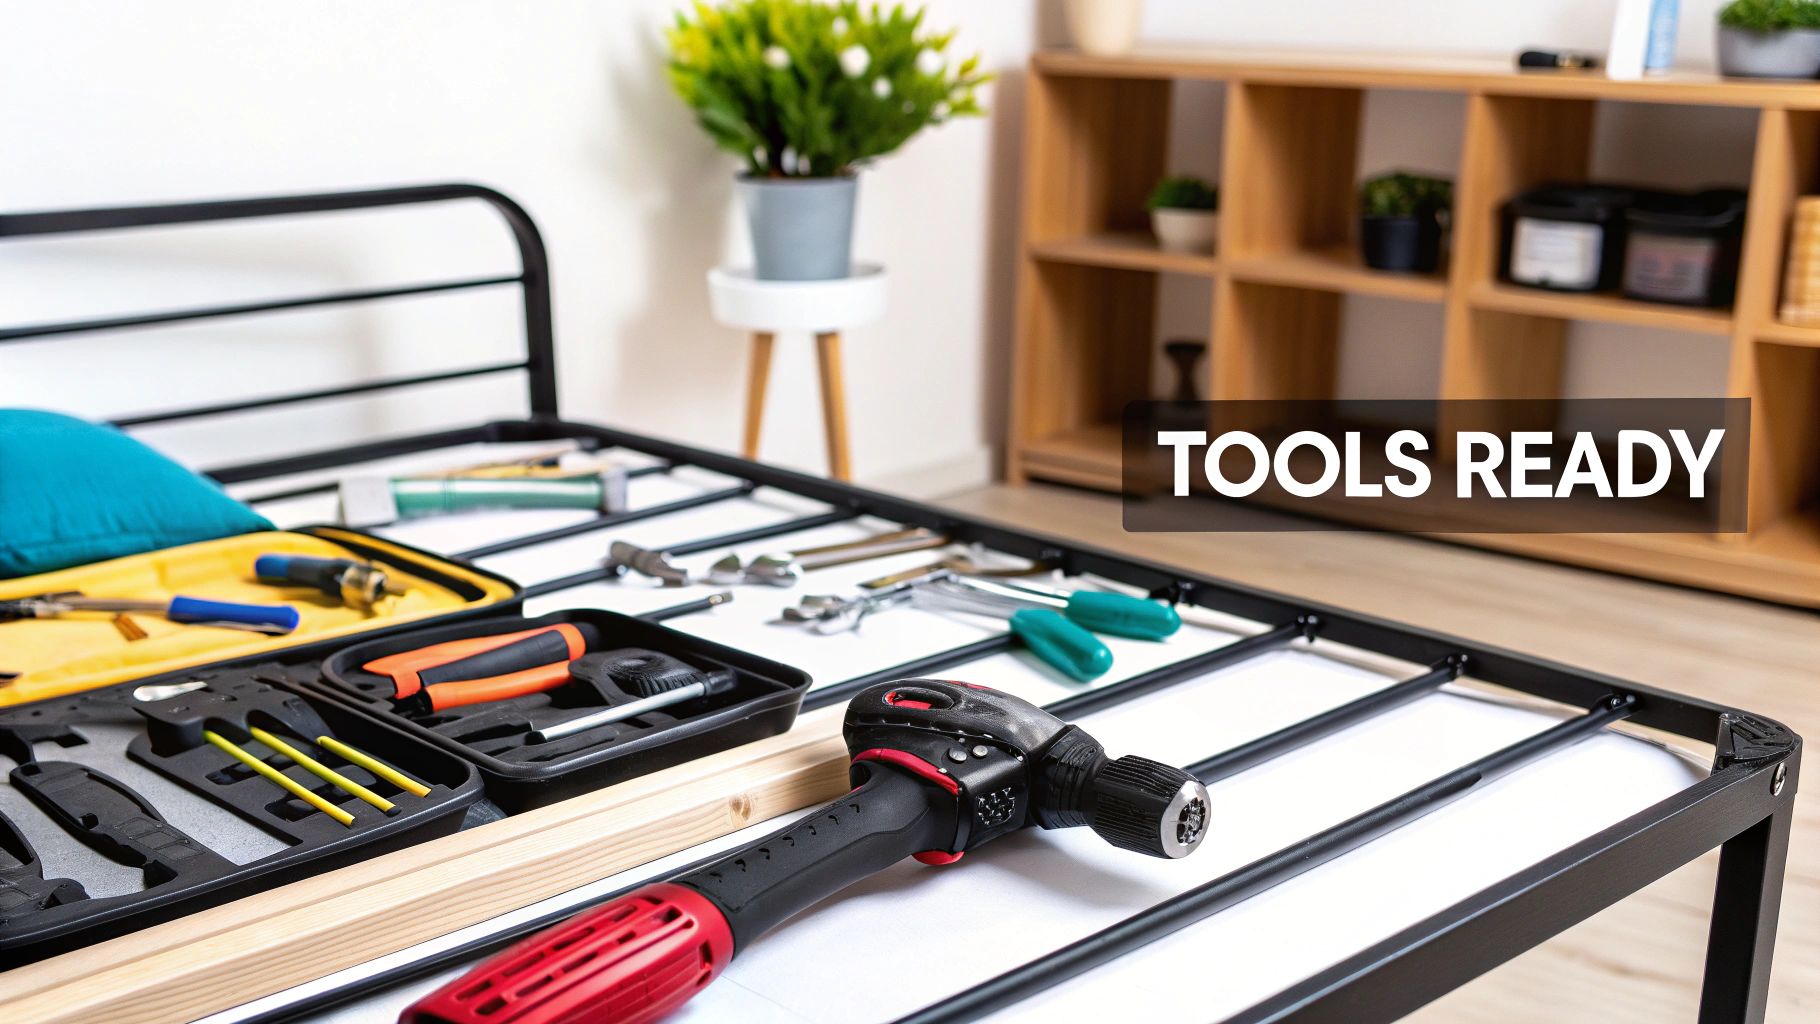
Before you even think about loosening a single bolt, the key to a stress-free disassembly is having all your tools laid out and ready to go. A few minutes of prep work now will save you from those frustrating mid-project runs to the garage or hardware store. Trust me, nobody wants to be halfway through a job only to realize they don't have the right size Allen key.
Most standard metal bed frames are held together with common fasteners like bolts and screws, so you probably already have what you need in your home toolkit. The entire process really just comes down to identifying those connection points and having the right tool to loosen them.
Your Disassembly Toolkit Checklist
Your toolkit doesn't need to be massive, but it does need to be right. Trying to force a slightly-too-small screwdriver or the wrong wrench is the fastest way to strip a fastener, turning a 15-minute task into a huge headache.
Here's a quick checklist of everything I recommend having on hand before you start. It covers the essentials and a few "nice-to-haves" that make the job go even smoother.
| Tool Category | Specific Item | Why It's Essential |
|---|---|---|
| Wrenches | Adjustable Wrench or Socket Set | This is your go-to for most nuts and bolts holding the main frame components together. A socket set is faster if you have one. |
| Hex Keys | Allen Key Set | An absolute must. So many modern bed frames use hexagonal bolts, making this set non-negotiable for a successful disassembly. |
| Screwdrivers | Phillips Head & Flathead | It's smart to have both on hand. You never know when a frame might use a mix of fastener types, especially on older models. |
| Persuasion Tool | Rubber Mallet | For joints that are stubbornly stuck after years of use, a few gentle taps can loosen them without denting or damaging the metal. |
| Safety Gear | Work Gloves | Don't skip these. The edges of metal frame parts can be surprisingly sharp, and a good pair of gloves will protect your hands. |
Having these tools ready means you can work efficiently without interruption.
Pro Tip: A power drill with the right bits can turn this into a lightning-fast job, especially if your frame has a lot of bolts. Just remember to set it to a low torque setting. This prevents you from stripping the hardware or overtightening it when you put it back together later.
Looking for more practical tips for other DIY projects or home cleanouts? Check out some of our other guides over on the Fulton Junk Removal blog.
A Practical Guide to Dismantling Your Bed Frame
Alright, with your tools laid out, it's time to get down to business. Taking apart a metal bed frame isn't complicated, but doing it the right way saves you from damaging the parts, scratching your floors, or pulling a muscle. We'll go through it just like a pro would, ensuring everything comes apart smoothly and safely.
First thing’s first: clear the deck. Get the mattress, box spring, sheets, and pillows out of the way. If you can move them into another room, perfect. If not, lean them securely against a far wall. A clear workspace is non-negotiable—it prevents tripping over a stray side rail and gives you room to actually work.
Detaching the Slats and Side Rails
Always start with the easiest parts, which are almost always the slats that supported your mattress. If you have individual slats just resting on the frame, simply lift them out and make a neat pile. For slats connected by a strap, just roll them up like a sleeping bag and use some tape to keep them bundled.
Now, turn your attention to the side rails—the long beams connecting the headboard to the footboard. You'll see bolts or screws at each corner. Before you completely remove the hardware on one end, just loosen the bolts on the opposite corner. This simple trick keeps the frame from suddenly twisting or dropping on you when one corner comes free.
This is where a second pair of hands is a game-changer. One person can hold the weight of the rail steady while the other zips out the fasteners with a wrench or drill. It stops the heavy rail from crashing down, which can easily bend the metal or gouge your floor.
Removing the Headboard and Footboard
With the side rails gone, the headboard and footboard are now freestanding. If your bed has both, tackle the footboard first, as it's usually lighter. At this point, it should only be connected to its own legs or base.
The headboard is typically the heaviest, most awkward piece of the whole setup. If you're flying solo, make sure you prop it firmly against a wall before you start loosening those last bolts. This prevents it from tipping over unexpectedly while you’re focused on the hardware. As you remove the last fasteners, immediately drop all the bolts, nuts, and washers into your labeled bags.
Following this sequence—working from the inside out—makes the whole process feel organized and under control. For a broader look at different frame types, this guide on how to take apart a bed frame is a great resource.
Of course, if you get halfway through and decide this is more work than you signed up for, professional help is always a smart move. And if you’re just trying to get rid of the frame for good, Fulton Junk Removal has you covered. You can see all the Atlanta-area communities we serve and have us handle the heavy lifting for you.
Solving Common Problems Like Stripped Screws and Rusted Bolts
Even the best-laid plans can hit a snag. After years of use, you're bound to run into stubborn bolts, stripped screw heads, or joints that have rusted tight. This is a totally normal part of taking apart older furniture, but knowing a few tricks of the trade can keep a small headache from turning into a big one.
If you have a stripped screw head that your screwdriver just spins in, grab a thick rubber band. Lay it flat over the stripped head and press your screwdriver down firmly into the rubber. The band fills in those worn-out gaps, giving you the extra grip needed to finally turn the screw and break it loose.
This diagram shows the general flow of disassembly—it's usually during the frame breakdown that you'll run into these stubborn fasteners.

Tackling Rusted Joints and Welded Frames
Rusted bolts are a similar story. Before you go all-in with a wrench and risk stripping the head, grab a can of penetrating oil like WD-40. Spray it directly onto the rusted joint and walk away. Give it at least 15-20 minutes to work its magic; the oil needs time to seep into the threads and break down the rust.
Now, there's a catch: some frames were never meant to come apart. Before you apply too much muscle, take a close look at the main joints where the rails meet the headboard and footboard. If you see smooth, seamless connections with no visible nuts or bolts, you're probably looking at a welded frame. These pieces are permanently fused together and can't be taken apart without cutting the metal.
Trying to force a welded joint apart is a surefire way to destroy the frame. If you find your bed is welded and you just need it gone, it’s time to call for backup.
For tough jobs or welded frames that need to be disposed of, a professional junk removal service is your best bet. You can learn more about the eco-friendly approach Fulton Junk Removal takes; we work hand-in-hand with Beyond Surplus to ensure metals are recycled responsibly instead of being dumped in a landfill.
How to Label and Pack Parts for Easy Reassembly
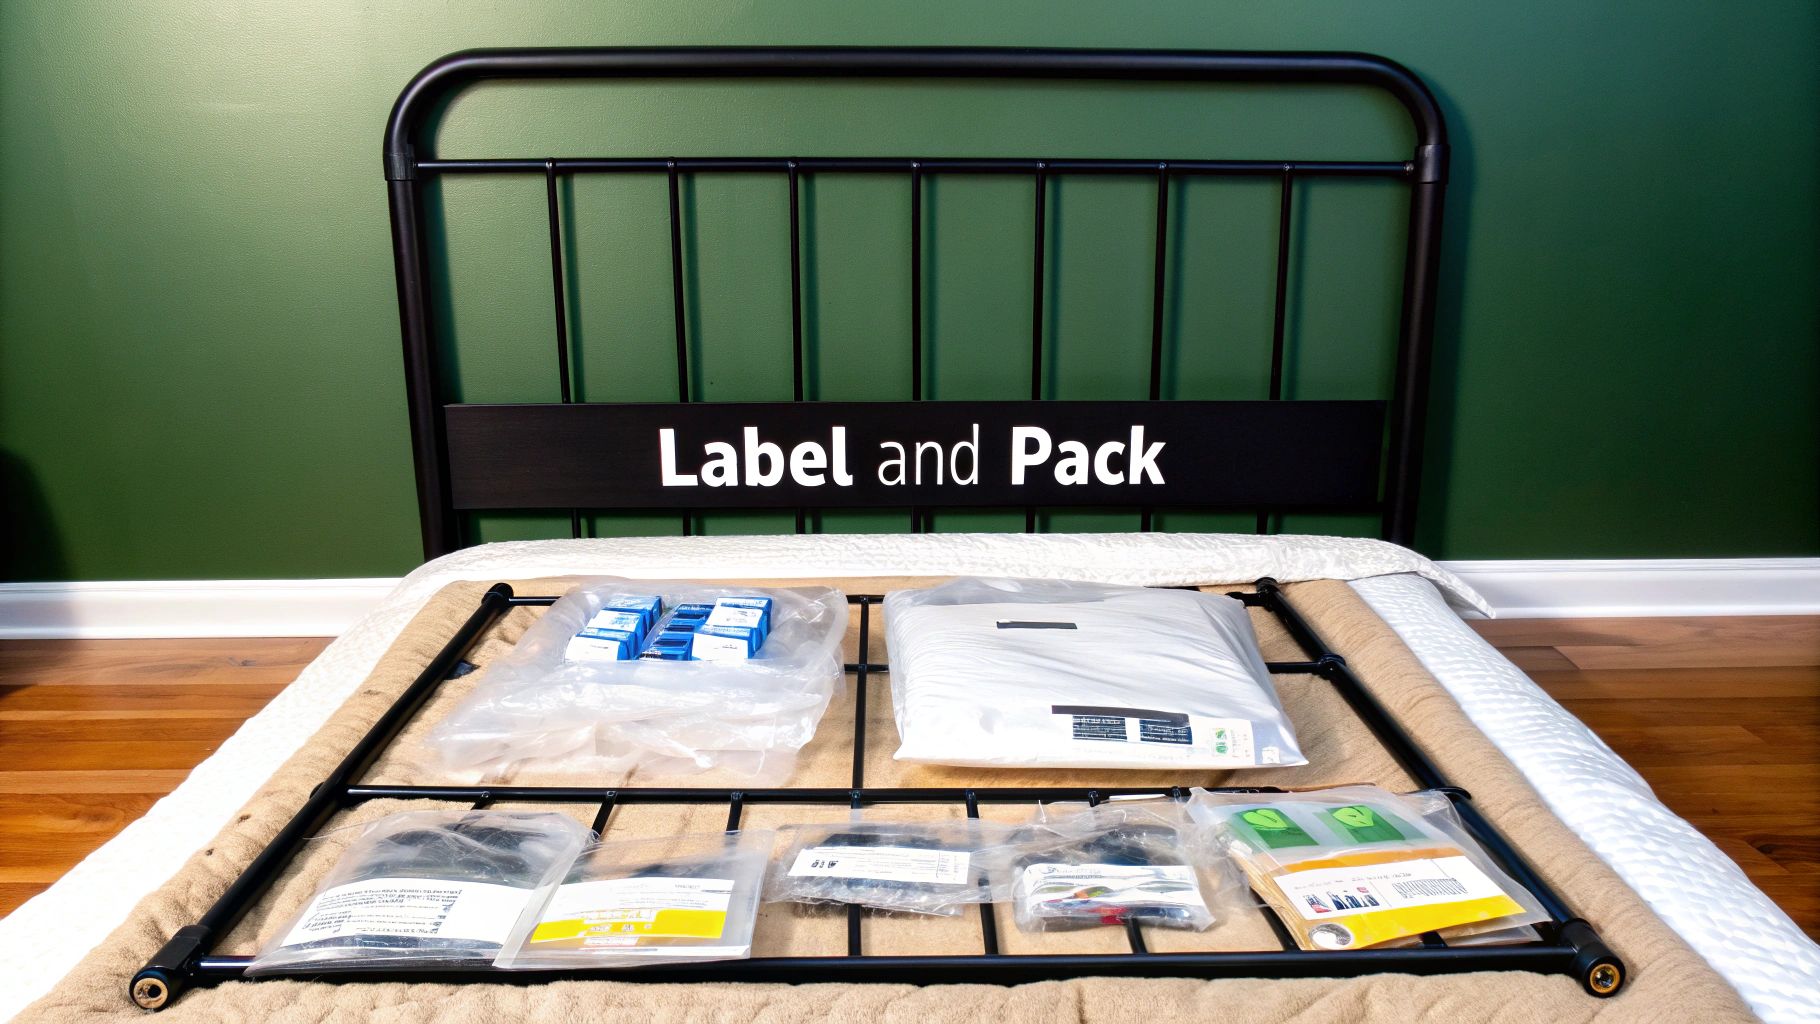
Once your bed frame is in pieces, what you do next separates a smooth move from a puzzle-filled nightmare. Taking the time to properly label and pack everything is a step people often skip, but I can tell you from experience it saves hours of frustration down the road.
A simple roll of painter’s tape and a marker are your best friends here. Don't just write "leg"—get specific. Label each piece clearly: “Headboard – Left Leg” or “Side Rail – Right.” This tiny detail removes all the guesswork when it's time to put it back together.
Keep Your Hardware Organized and Parts Protected
For all those nuts, bolts, and washers, sandwich bags are a lifesaver. As you finish removing the hardware from a specific joint, immediately drop the pieces into a bag and label it (e.g., “Footboard Bolts”). Then, just tape that bag directly to the part it belongs to. No more mystery screws!
Protecting the finish is just as important. Wrap the metal parts in moving blankets, old towels, or even bubble wrap. This simple step prevents scratches and dings, especially if you're loading everything into a truck.
With more people moving and valuing reusable furniture, knowing how to do this right has become an essential skill. If you realize during this process that the frame isn't worth the effort to move or store, a professional removal service is your best bet. For a quick and responsible pickup, you can always contact Fulton Junk Removal to handle the disposal for you.
What to Do With the Pieces: Responsible Disposal and Recycling
Once your metal bed frame is broken down into manageable pieces, what’s next? If you’re not planning to reassemble it, just dragging it out to the curb isn't the best move. Thankfully, there are plenty of eco-friendly ways to give that old frame a new purpose.
If the frame is still in good shape, consider giving it a second life. Local charities, shelters, and non-profits are almost always looking for sturdy bed frames to help families in need. A quick search for "furniture donation near me" will point you to local organizations that would be thrilled to take it off your hands.
Embracing Eco-Friendly Junk Removal
But what if the frame is bent, broken, or you just need the easiest possible solution? That's where a professional service comes in. This is a no-brainer for offices, warehouses, and property managers tackling a larger cleanout. Knowing how to dispose of unwanted furniture responsibly is key to making a smart, sustainable choice.
A specialized junk removal company can save you a ton of time and make sure the metal gets properly recycled. While most junk removal companies take everything to the landfill, we recycle through our partner, Beyond Surplus, to minimize waste and maximize reuse. Instead of rusting away, the steel or aluminum from your old frame can be melted down and turned into something new.
The secret is to find a company that actually prioritizes recycling. A lot of haulers just make a beeline for the dump, but a truly eco-conscious service takes the extra step to sort materials for reuse.
That’s where a circular, eco-friendly solution like ours really shines. Fulton Junk Removal, operating under Beyond Surplus, works hand-in-hand to responsibly recycle metals, electronics, and other materials. We actively divert items from landfills, ensuring they’re either repurposed or recycled—a practice that appeals to environmentally conscious homeowners and businesses alike. Our partnership guarantees your old frame enters the recycling stream instead of becoming waste.
This approach is perfect if you're looking for a seamless, responsible solution. Fulton can even offer bundled junk removal and recycling pickups, where all electronic waste and recyclable materials are processed directly by Beyond Surplus. This makes compliance and sustainability reporting easier for our commercial clients. Explore the full range of Fulton Junk Removal services for a complete, stress-free cleanout.
Your Metal Bed Frame Questions Answered
Even with a good guide, you’re bound to hit a snag or two when taking apart a metal bed frame. It happens. Here are some quick answers to the questions we hear most often.
Can I Do This By Myself?
For most standard metal frames, you probably can. But I’ll be honest—having a second person makes the job monumentally easier and safer.
Imagine trying to hold a heavy side rail steady with one hand while trying to loosen a stubborn bolt with the other. It’s a recipe for scratched floors or a dropped frame. A helper can support the weight of each piece while you focus on the hardware, preventing parts from crashing down.
What if I Lose Some Screws?
First off, don't panic! It’s one of the most common frustrations. The easiest fix is to take one of the remaining screws to your local hardware store. The folks there are usually wizards at matching odd hardware.
Just find the aisle with all the bins of loose nuts and bolts, and they can help you find an exact match for the length and thread size.
How Can I Tell if a Frame Is Welded?
Take a close look at the main joints—where the side rails connect to the headboard and footboard. If you see smooth, seamless metal connections with no bolt heads, screws, or nuts anywhere in sight, you're looking at a welded frame.
These are permanently fused together and can't be disassembled without a metal cutter. They’re built to last, but not to move.
If your frame turns out to be welded, or you just decide the hassle isn't worth it, Fulton Junk Removal is ready to step in. We offer fast, eco-friendly removal services, making sure your old frame is properly recycled through our partnership with Beyond Surplus.
You can get a free estimate by visiting us online at https://fultonjunkremoval.com.