How to Pull a Dishwasher Out A Practical DIY Guide
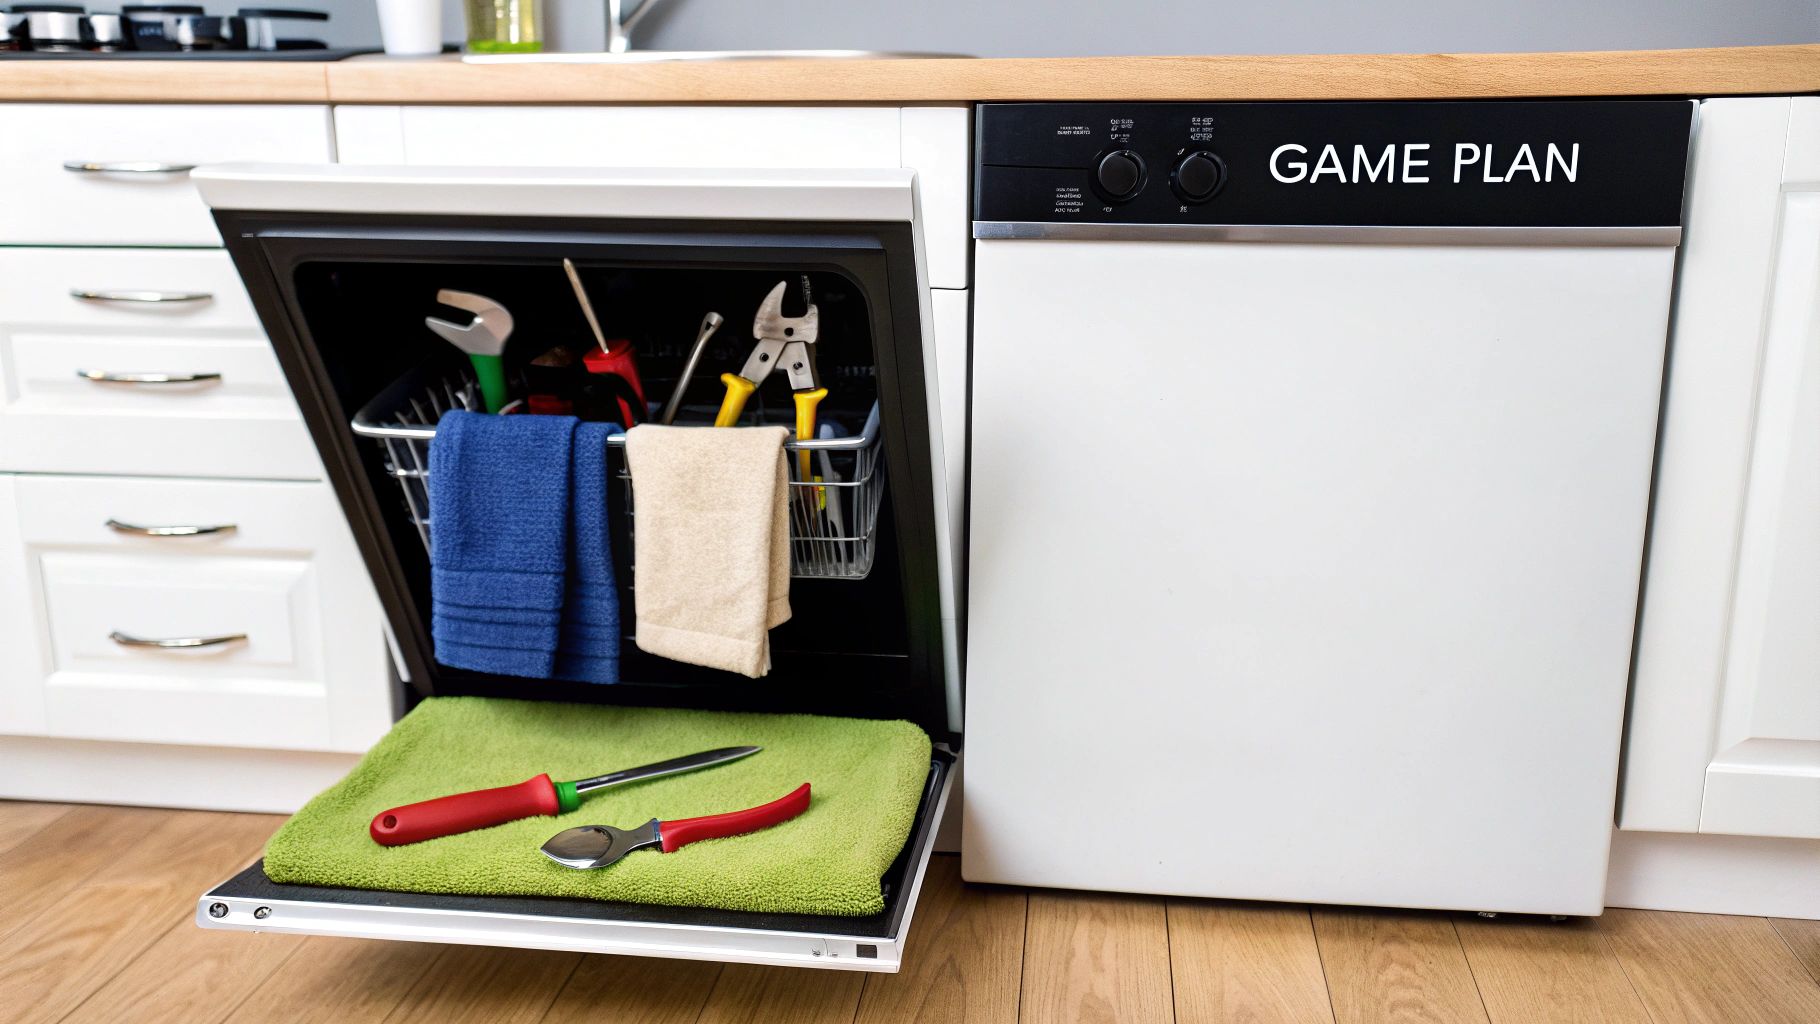
Thinking about swapping out that old dishwasher? Pulling a built-in unit isn't as intimidating as it looks—it's a totally manageable DIY project if you have the right game plan. It boils down to a few key moves: killing the power and water, disconnecting the lines, popping off some mounting screws, and carefully sliding the machine out from under the counter.
Your Game Plan for Removing a Dishwasher
Before you even think about grabbing a screwdriver, you need a clear roadmap. Getting a dishwasher out is less about brute force and much more about following a logical sequence of steps. Trust me, a little prep work upfront will save you from a world of frustration—think unexpected leaks, scratched floors, or chipped cabinetry.
Think of this as your pre-flight checklist. We'll cover everything from the initial safety checks to the final satisfying slide-out. Having the right tools on hand and a realistic idea of how long it'll take makes all the difference.
Dishwasher Removal At a Glance
Proper planning means you won't get caught off guard. There's nothing worse than getting halfway through a job only to realize you need a specific wrench you don't own. This quick table breaks down each phase, the tools you'll need, and a practical time estimate to keep you on track.
| Phase | Required Tools | Estimated Time |
|---|---|---|
| Safety Preparation | Flashlight, old towels, bucket, voltage tester | 15-20 minutes |
| Disconnecting Utilities | Adjustable wrench, pliers, screwdriver set | 20-30 minutes |
| Freeing from Cabinet | Screwdriver, adjustable wrench or pliers | 10-15 minutes |
| Sliding the Unit Out | Cardboard or moving blanket, painter's tape | 10 minutes |
With this outline, you can see the whole project from start to finish. It’s all about working smart, not hard.
Planning for What Comes Next
Okay, so you've wrestled the old dishwasher out. Now what? You can't just leave a 45-pound appliance on the curb—many areas have rules against that, and besides, it’s packed with materials that have no business in a landfill. Figuring out how to responsibly dispose of it is a crucial final step.
For a completely hassle-free and eco-friendly option, consider professional appliance removal services that know how to recycle these things properly. Fulton Junk Removal operates as part of Beyond Surplus, a circular, eco-friendly solution that goes beyond traditional junk hauling. While most junk removal companies take everything to the landfill, we recycle through Beyond Surplus to minimize waste and maximize reuse.
Having a plan for the old unit is just as important as having a plan for the new one. This closes the loop on the project, ensuring your old appliance is handled responsibly instead of becoming environmental waste.
And speaking of the new one, this is the perfect time to do your homework. Before you even start the removal, you might want to check out a comprehensive dishwasher buying guide. It’ll help you pick a model that fits your kitchen, your needs, and your budget, so you’re ready to install as soon as the old one is gone.
Critical Safety Prep Before You Begin
Before you even think about yanking that old dishwasher out, we need to deal with the two things that turn a simple DIY job into a disaster: electricity and water. This isn't just a suggestion—it's the most important part of the entire process. Get this right, and you're set up for a smooth, leak-free removal.
First things first, kill the power. Head over to your home's circuit breaker panel and look for the switch labeled "Dishwasher." Flip it to the OFF position. If your panel is a mystery of unlabeled switches (a common headache in older homes), you might have to test a few until the lights on the dishwasher's control panel go completely dark.
Securing the Water Supply
With the power off, your next target is the hot water line feeding the appliance. You'll almost always find the shut-off valve under the kitchen sink, connected to the hot water pipe. It typically has a small, oval-shaped handle. Turn it clockwise until it stops.
Don't just assume the valve worked, though. I've seen plenty of old, seized valves that don't fully close. To be absolutely sure, go back to the dishwasher and try to start a new cycle. If you did everything correctly, the machine should be completely dead—no lights, no sounds, nothing. This quick check confirms you’re safe from both electrical shock and a surprise indoor swimming pool.
Honestly, this step is crucial. Industry reports show that a staggering 15-20% of appliance service calls are the direct result of leaks or electrical shorts from DIY projects that skipped these basic checks. You can dig deeper into appliance trends in the latest global dishwasher market reports.
Preparing Your Workspace
Now that the dishwasher is safely offline, it's time to prep the area for the inevitable mess. Even with the water turned off, there's always some leftover water lurking in the supply and drain hoses.
- Lay Down Protection: Grab a few old towels or a shallow baking sheet and slide it right in front of the dishwasher. This will be your first line of defense against drips and spills.
- Clear the Area: Get any floor mats, pet bowls, or stray toys out of the way. You need a clear path to work and eventually slide the entire unit out without tripping over anything.
- Gather Your Tools: Bring your toolkit close. You’ll want an adjustable wrench, pliers, and a screwdriver set all within arm’s reach so you're not constantly getting up and down.
Remember, the whole point of preparation is to make the actual removal process as boring as possible. A few minutes of careful setup now will save you from hours of mopping up water and making costly repair calls later.
Taking these precautions seriously is what separates a successful project from a frustrating one. It's a responsible approach to home maintenance, just like understanding what to do with an appliance once it's out. Our team is dedicated to eco-friendly solutions, and you can learn more about our environmental commitment and how we handle appliance recycling.
With the area prepped and the utilities safely off, you're ready to get your hands dirty.
Disconnecting the Water Drain and Power
Alright, safety checks are done. Now it's time to get a little more hands-on. You'll be working under the sink and behind the dishwasher's lower access panel, where the three main lifelines—water, drain, and power—connect. Taking your time here is the secret to a smooth, leak-free disconnection.
Before you even touch a wrench, grab a small bucket and a few old towels. Trust me, there’s always some leftover water in the lines, and having these ready will save you from a messy cleanup later. Start by taking off the toe-kick panel at the bottom of the dishwasher. It’s usually held in place by a couple of Phillips #2 screws.
This quick diagram breaks down the essential safety steps before you start disconnecting anything.
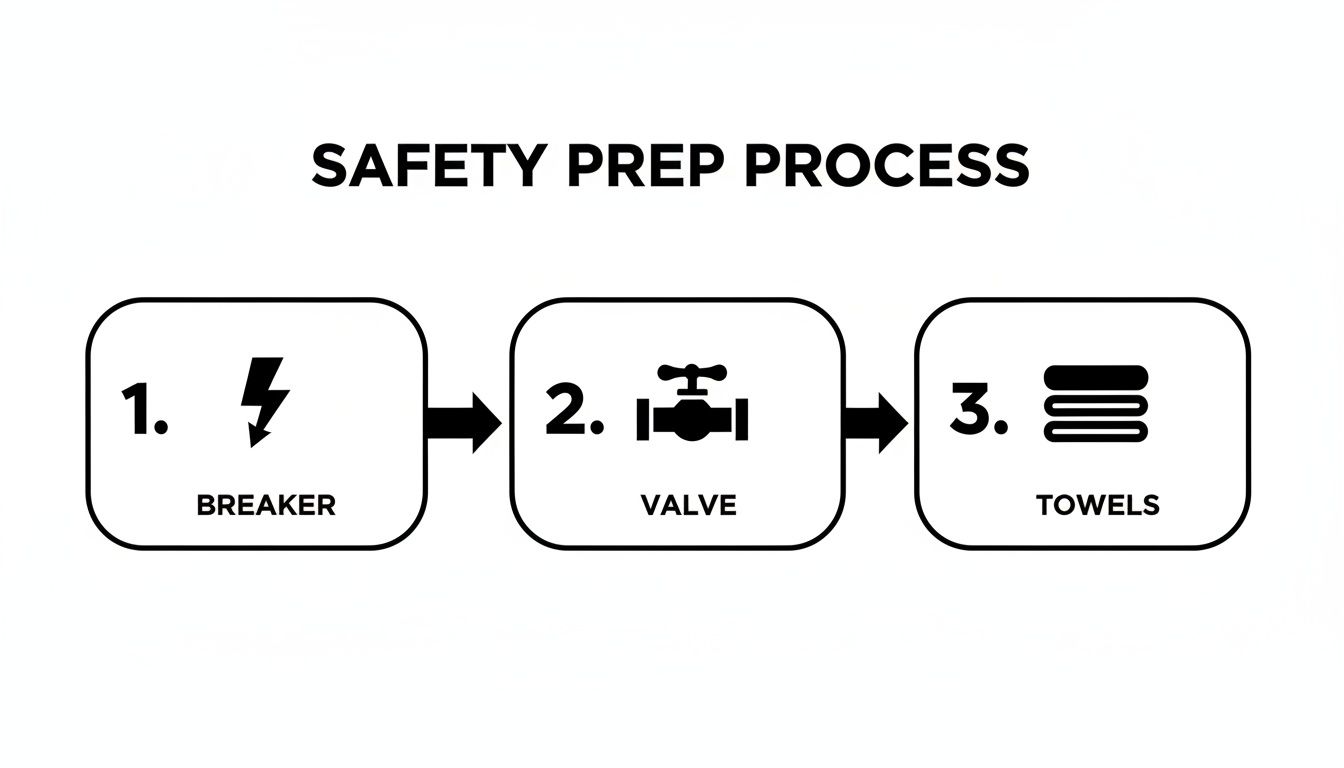
Stick to this order—power off, water off, then towels ready—and you’ll be working in the safest environment possible.
Managing the Water Supply and Drain Hoses
Once that access panel is off, you’ll see the water supply line. It’s often a braided steel hose that connects to the dishwasher’s inlet valve. Slide a towel right under that connection point. Using an adjustable wrench, turn the fitting counter-clockwise to loosen it. Don’t rush this part; go slowly to avoid stripping the fitting, especially if it's plastic.
Next, find the drain hose. This is the bigger, ribbed plastic hose that snakes from the dishwasher over to your sink’s drain or garbage disposal. It’s usually held on with a simple spring clamp or a hose clamp. If it’s a spring clamp, just squeeze the tabs with pliers and slide it back down the hose. For a hose clamp, a screwdriver will do the trick. Gently wiggle the hose free and aim it straight into your bucket to catch any water that comes out.
If you happen to find the drain line is completely blocked while you’re doing this, this guide on fixing a clog dishwasher drain has some great quick fixes.
Pro Tip: Try to keep the end of the drain hose held up high as you work. This simple trick uses gravity to stop any water trapped further down the line from siphoning out onto your floor when you least expect it.
Safely Handling the Electrical Connection
The last connection to tackle is the power. The good news is that most modern dishwashers (99%, in fact) just plug into a standard 15-amp wall outlet, which makes this step incredibly simple. Find the outlet, which is typically under the sink or in the cabinet right next to it, and just unplug it.
However, if you have an older home, you might find the unit is hardwired directly into a junction box. Instead of a plug, you’ll see an armored cable running into a small metal box. Even with the breaker off, you should always double-check with a non-contact voltage tester to be absolutely sure there’s no power. Once you've confirmed it's dead, you can remove the junction box cover, unscrew the wire nuts, and separate the wires.
Knowing these connections is half the battle. Roughly 70% of inlet hoses rely on compression fittings, and 80% of drain hoses use those simple clamps. Thankfully, modern electrical codes have made this job much safer, helping reduce electrocution incidents by over 60% since 2015.
For more DIY guides and home maintenance tips, be sure to check out our other articles on the https://fultonjunkremoval.com/blog/.
Freeing the Dishwasher From Its Cabinet
With the power and water safely off, you're on the home stretch. The last thing standing between you and a successful removal is releasing the dishwasher from the surrounding cabinetry. It sounds complicated, but you’ll be surprised—most units are only held in place by a couple of small mounting screws.
Open the dishwasher door and crane your head to look up at the underside of your countertop. You should spot two small metal brackets, one on each side, securing the top of the dishwasher. These are there to prevent the whole machine from tipping forward when you pull out a heavy, dish-laden bottom rack. Grab your screwdriver and simply back those screws out.
Occasionally, especially with stone countertops like granite or quartz where drilling upwards is a bad idea, installers will mount the dishwasher to the side cabinets instead. If you don't find any brackets up top, check along the sides of the dishwasher's frame for screws going directly into the neighboring cabinets.
Adjusting the Leveling Feet for Clearance
Now for the part that trips up most first-timers. With the screws out, you might give the dishwasher a tug and find it’s completely stuck. Don't panic; you didn't miss a hidden bolt. The culprit is almost always the unit's adjustable leveling feet. During installation, these feet were screwed down to press the dishwasher firmly into place, making it level and snug.
To get it out, you just have to reverse the process.
- Front Feet: Most dishwashers have two adjustable feet at the front corners. Using your adjustable wrench or a pair of pliers, turn the threaded leg of each foot counter-clockwise. You'll see it retract up into the dishwasher's frame, lowering the front edge slightly.
- Rear Foot: Many modern dishwashers also have a central rear foot that’s cleverly adjusted from the front. Look for a long screw right in the center, just below the door. Turning this screw (usually counter-clockwise as well) will lower the back of the entire machine.
You don’t need to retract them all the way—just lowering them a quarter-inch is usually enough to create the wiggle room you need.
A crucial but often overlooked detail is that 75% of residential built-in dishwashers are secured with just two to four of these small bracket screws. Understanding this small mechanical detail, along with the function of the leveling feet, is key to a smooth removal process. You can explore more about appliance specifications in this comprehensive market analysis.
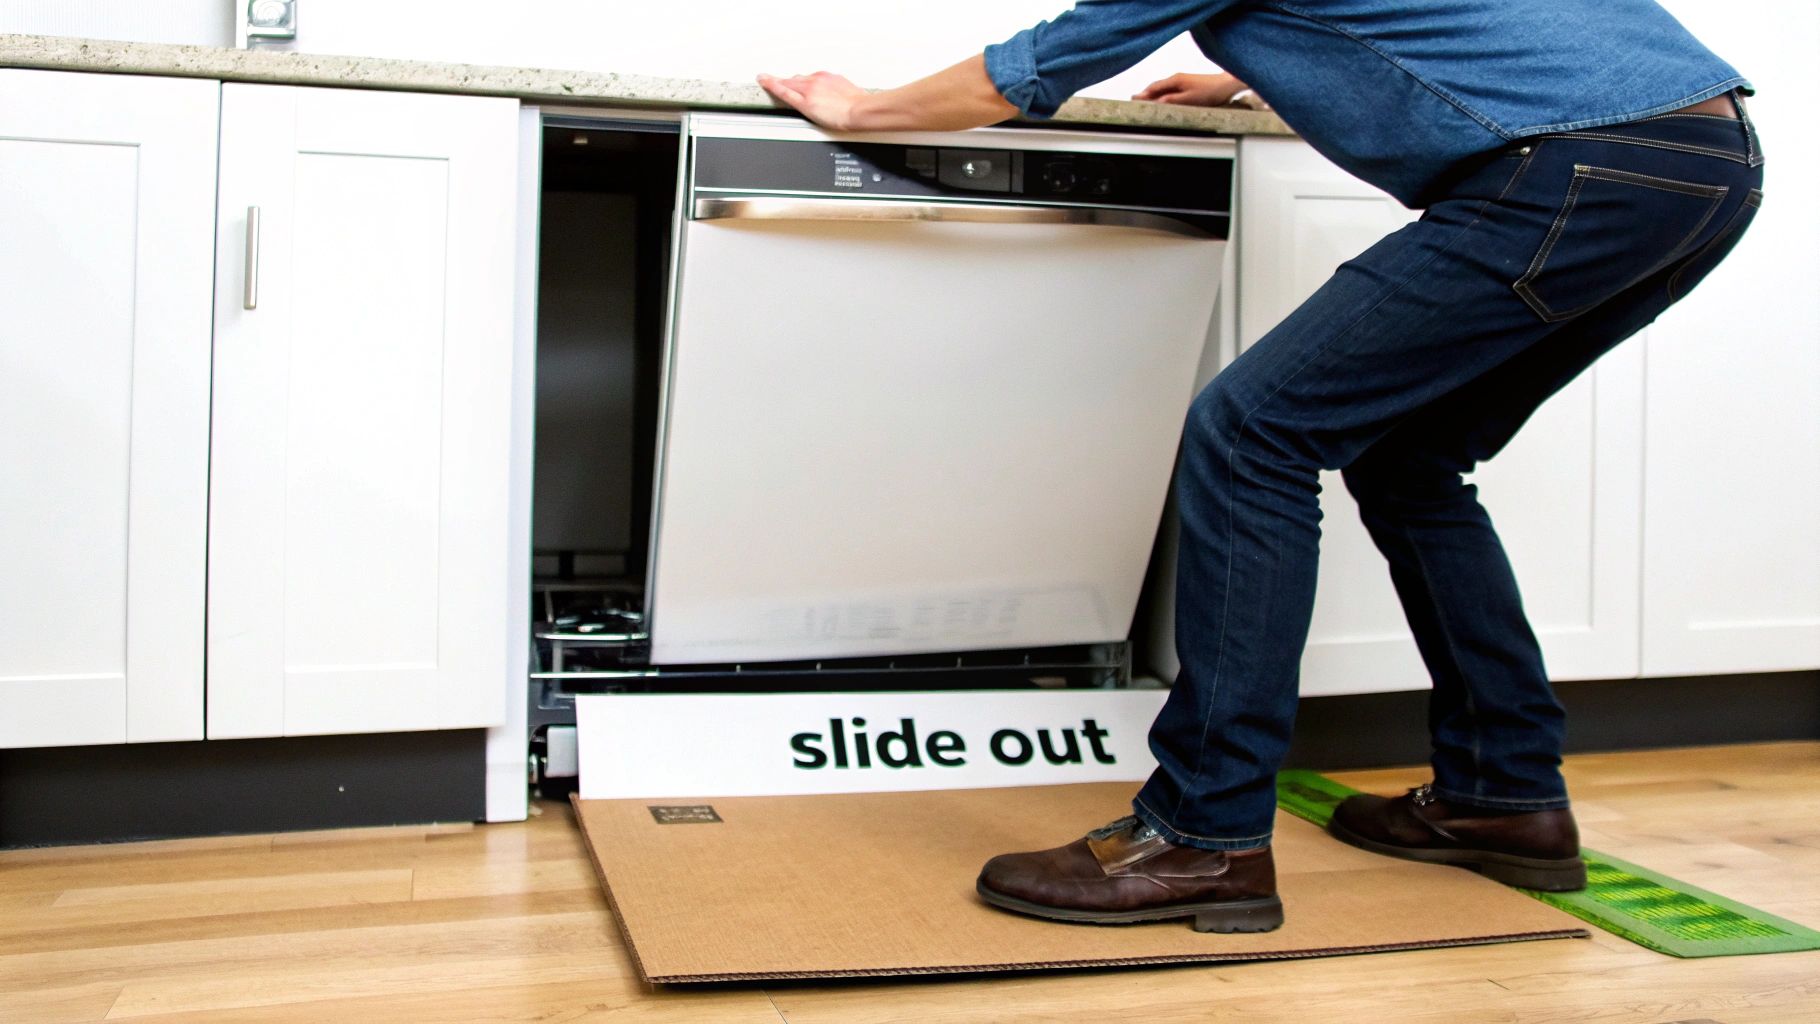
The Final Slide-Out
Once the feet are retracted, you're ready for the big moment. But before you yank it out, here’s a pro tip: lay a large, flat piece of cardboard or an old moving blanket on the floor. This simple step is the difference between a clean removal and a nasty scratch on your beautiful hardwood or tile floors.
Grip the sides of the dishwasher door and start gently pulling it straight out. Wiggle it side-to-side a bit if it feels tight. The key here is to go slow and steady. Keep an eye on the disconnected drain and water lines to make sure they don’t get snagged on anything as you pull the unit completely free from its home.
Troubleshooting a Stuck Dishwasher
You’ve disconnected the lines, pulled the mounting screws, and given it a good tug, but the dishwasher just won't budge. Don't start yanking yet. This is a super common roadblock, and it's almost always caused by one of a few usual suspects. With a little patience, you can work through it without damaging your dishwasher or your cabinets.
More often than not, the culprit is a snagged hose. The drain or water supply line loves to catch on the edge of a cabinet or a nearby pipe as you pull the unit out. Instead of brute force, try gently pushing the dishwasher back in a few inches. This simple move often frees the caught hose, letting you try again.
Another classic mistake is missing a hidden mounting bracket. Most dishwashers are screwed into the countertop above, but some—especially those under granite or stone countertops—are secured to the side cabinets. If the unit feels completely locked in place, open the door and run your hand along the top and side edges of the frame. You’ll probably feel a screw head you missed.
Dealing With Rusted Hardware
If you're wrangling an older dishwasher, you're almost guaranteed to run into some rust, especially on the screws holding the lower access panel. It’s frustrating, but you’ve got options. Before you even think about drilling it out, grab some penetrating oil. A quick spray directly on the screw head is often all it takes—just let it sit for 15 minutes to work its magic.
If the screw is still stubborn, a screw extractor kit is a lifesaver. These are designed to bite into stripped or rusted screw heads, giving you the grip you need to back them out cleanly.
The New Flooring Dilemma
One of the sneakiest reasons a dishwasher gets trapped is new flooring. If a previous owner installed thicker flooring like tile or hardwood after the dishwasher was in place, they've essentially boxed it in. The new floor creates a lip that the dishwasher can't slide over.
Your goal here is to create just enough clearance to get it out.
- Lower the Feet: Start by retracting the front and rear leveling feet as far as they’ll go. You want to drop the machine's height to its absolute minimum.
- Get Some Leverage: Slide a thin pry bar or a sturdy, flat scraper under the front edge of the dishwasher. Use a small block of wood as a fulcrum to avoid scratching or denting your new floor.
- Lift and Slide: Gently lift the front of the dishwasher just enough to clear that flooring lip. While it's lifted, have a helper carefully slide a piece of cardboard underneath and begin pulling the unit forward.
This is a job that calls for a delicate touch. You’re trying to lift the unit over the flooring, not force it through. Rushing this step is a surefire way to gouge your floor or damage the dishwasher itself.
If the dishwasher is just too heavy or the angle is too awkward to manage safely, don't risk it. Sometimes the smartest move is calling in a pro. If you’re dealing with a tricky removal or just want the old appliance gone, you can always contact us at Fulton Junk Removal for a hand.
Time for a Smart Cleanup and Responsible Disposal
With the old dishwasher finally out of its nook, you're on the home stretch. But before you get too excited about the new appliance, take a moment to deal with the newly exposed space under your counter.
Chances are, it’s a forgotten zone that has collected years of dust, grime, and maybe even a lost utensil or two. A quick sweep and a wipe-down with an all-purpose cleaner will make the area fresh and ready for its new occupant.
Now, what to do with the old machine? Leaving a heavy, clunky appliance on the curb often isn't a legal (or neighborly) option, and it's definitely not great for the environment. Simply sending it to the landfill means all those valuable metals, plastics, and electronic components go to waste.
Choosing an Eco-Friendly Disposal Option
For a truly responsible approach, you need a solution that prioritizes recycling over dumping. This is where a specialized service really makes all the difference. Many homeowners are surprised to learn just how much of an old appliance can be salvaged and given a new life. This appeals to environmentally conscious homeowners and businesses alike.
Key Takeaway: Responsible disposal is about more than just getting rid of junk—it’s about minimizing your environmental footprint. A single dishwasher contains steel, copper, and various plastics that can be reclaimed and repurposed, keeping them out of a landfill for good.
Partnering Up for Sustainable Junk Removal
Instead of wrestling with the old dishwasher yourself, consider bringing in a professional service that has eco-friendly practices baked into its process. Fulton Junk Removal works hand-in-hand with Beyond Surplus to recycle electronics, metals, and other materials responsibly. We divert items from landfills and ensure they’re repurposed or recycled.
This bundled junk removal and recycling pickup is especially valuable for offices, warehouses, and property managers. Fulton handles the junk removal, and Beyond Surplus ensures responsible recycling, making compliance and sustainability reporting easier. You can learn more about our dedication to sustainable appliance recycling.
This transforms a simple junk removal task into a positive contribution to the circular economy. See if these services are available in the communities we serve by checking our local service areas.
Answering Your Dishwasher Removal Questions
People often have a few last-minute questions before they start. Here are the most common ones we hear.
Do I Need to Shut Off the Main Water to My House?
Thankfully, no. In almost every case, you only need to turn off the hot water supply line that feeds the dishwasher directly. You’ll find this valve under your kitchen sink. It's much easier than shutting down the water for the whole house and dealing with sputtering faucets later.
What If My Dishwasher Is Hardwired Without a Plug?
If you don’t see a standard outlet plug under the sink, your dishwasher is hardwired. This is where safety is absolutely critical. First, go to your breaker box and shut off the circuit labeled "dishwasher." Then, come back and use a non-contact voltage tester to double-check that the power is truly off before you touch a single wire. From there, you'll remove the junction box cover on the dishwasher and unscrew the wire nuts to disconnect it.
Can I Reuse the Old Water Line for My New Dishwasher?
You can, but you really shouldn't. It's highly recommended to just replace it. Those braided steel supply hoses look tough, but they wear out internally over time, and their rubber gaskets can fail without warning. A brand new supply line is cheap—usually under $20—and it's some of the best insurance you can buy against a future leak.
When you’re ready for a fast, eco-friendly appliance disposal solution, Fulton Junk Removal is here to help. We handle the heavy lifting and responsible recycling so you don't have to. Schedule your pickup at https://fultonjunkremoval.com.