how to take down an above ground pool: A DIY Guide
Taking down an above-ground pool is a bigger job than just draining the water and undoing a few bolts. It all starts with a smart plan. The real work begins before you touch the pool, focusing on checking local regulations for water disposal, getting the right tools together, and giving the pool a good, honest assessment. Getting this prep work right is the key to a safe, legal, and smooth removal from start to finish.
Your Essential Pool Takedown Plan

Learning how to take down an above-ground pool successfully starts long before you drain that first gallon. If you just jump in without a clear strategy, you’re setting yourself up for headaches, surprise costs, and maybe even a run-in with your local authorities. A little bit of thoughtful planning is your most valuable tool here.
The very first thing on your list? A call to your local municipality or water authority. Many towns have very specific rules about where thousands of gallons of chlorinated water can go. Pumping it straight into the nearest storm drain seems like the easy way out, but it can get you slapped with some hefty fines for breaking environmental codes.
Check Local Regulations First
I’ve heard stories of homeowners who drained their 15,000-gallon pool right into a storm sewer, thinking nothing of it. A week later, a notice arrived in the mail with a $500 fine for illegal discharge of chlorinated water. That’s an expensive mistake that could have been completely avoided with one quick phone call.
Before you start, find out:
- Water Disposal Rules: Are you allowed to drain the water onto your own property, or does it need to be directed into the sanitary sewer system?
- Permit Requirements: Some areas might require a basic permit for demolition or large-item disposal, even for a temporary structure like an above-ground pool.
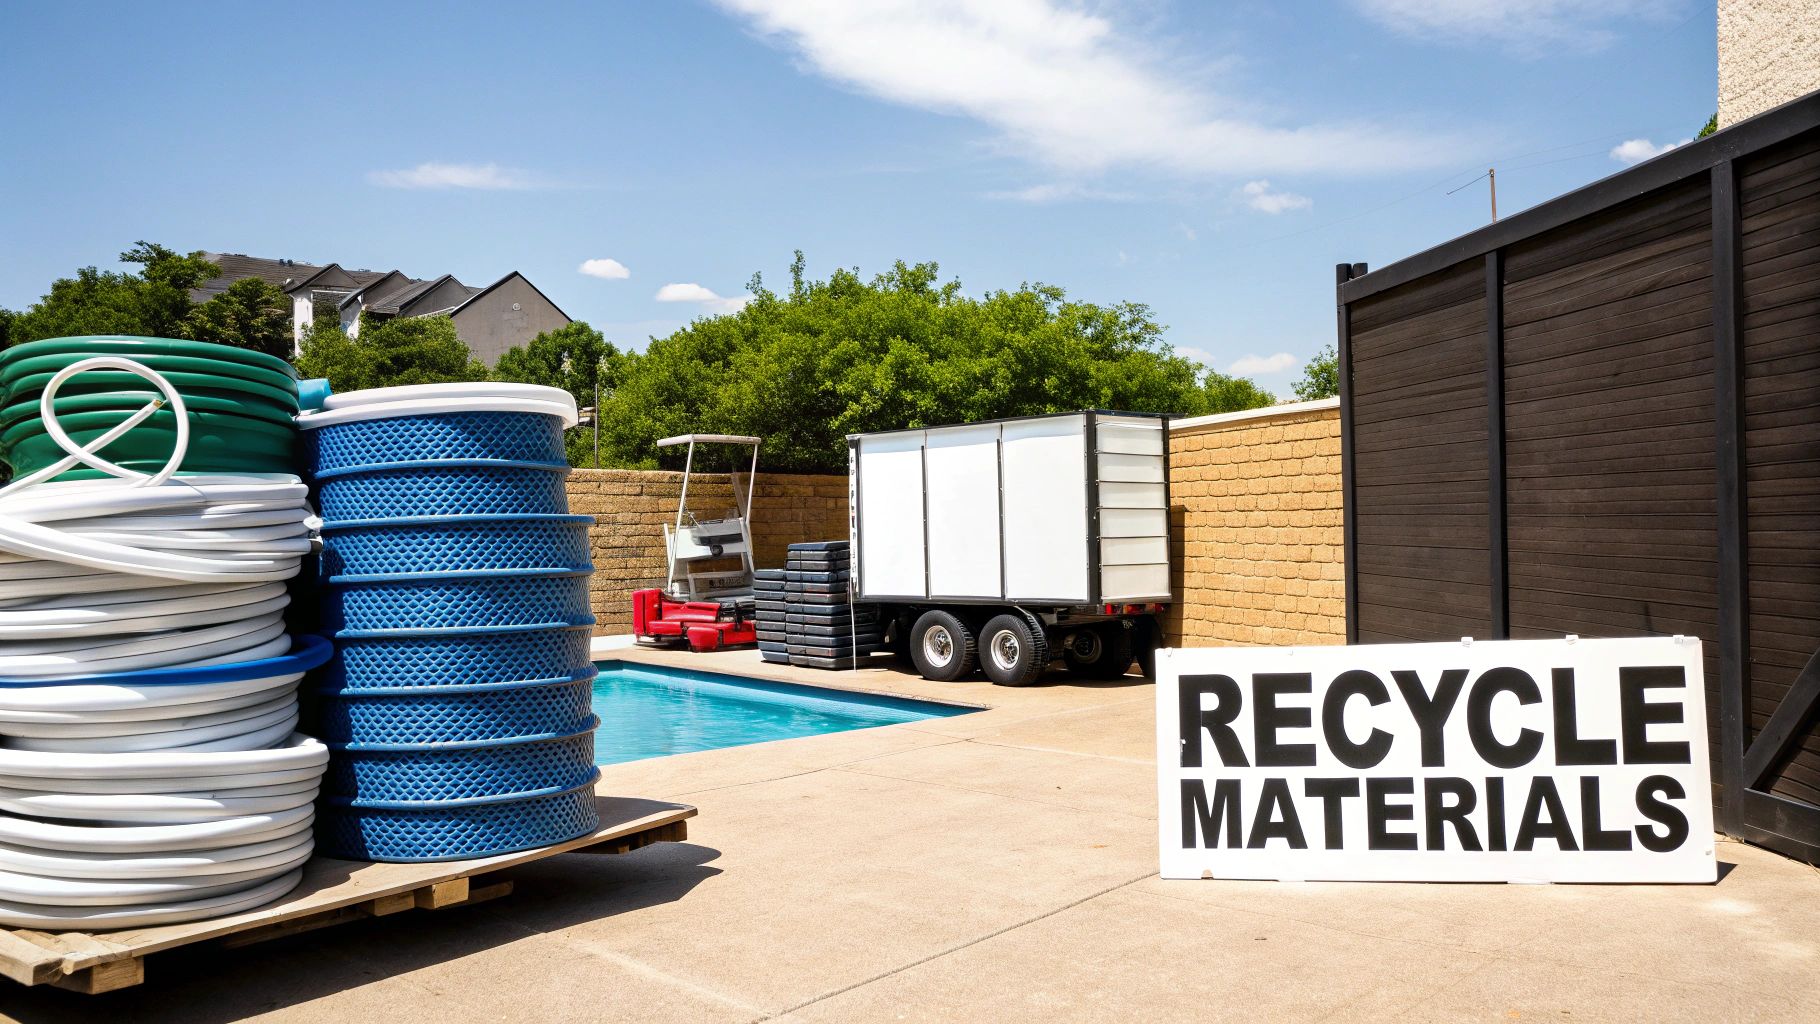
- Recycling Guidelines: Your city might have special programs for recycling big metal parts or vinyl liners, which is a great way to keep all that bulky material out of the landfill.
Assess Your Pool's Condition
Next up, do a thorough walk-around and inspect the entire pool structure. This is especially important if you're thinking about selling it or packing it away for future use. This quick assessment will tell you the true scope of the project and what materials are worth salvaging.
Get up close and look at the liner for any tears, brittleness, or major fading. Check the metal frame, top rails, and support posts for any signs of rust, warping, or other damage.
A well-maintained pool can have some decent resale value. If you carefully take it apart and clean the pieces, you can often make back some of the money you plan to spend on your next backyard project. A damaged pool, on the other hand, might be a job for a professional junk removal crew.
If you find that the pool’s parts are too far gone to be saved, it’s best to make a disposal plan right away. Companies that work in various service areas can handle all the heavy lifting and make sure that materials like the steel walls and vinyl liner are dealt with responsibly. This kind of planning doesn't just save you time—it also ensures you’re being eco-friendly by turning a potential pile of junk back into recyclable materials.
Draining Your Pool Without Creating a Backyard Flood
The biggest hurdle in taking down an above-ground pool is figuring out what to do with thousands of gallons of water. Getting it out is one thing; getting it out without turning your yard into a swamp or getting an angry knock from your neighbor is another story entirely. The goal here is a controlled, responsible drain that leaves your property dry and the local ecosystem unharmed.
You’ve got two main tools for this job: a submersible pump or a simple garden hose siphon. A good submersible pump is the faster, more efficient route, capable of moving a massive volume of water in a short time. A siphon, on the other hand, is a low-cost, gravity-powered method that works just fine if you're not in a rush and your drainage area is noticeably lower than the pool.
Prep the Water and Pick Your Drainage Spot
Before you even think about starting the drain, you have to deal with the chemicals in the water. You can't just dump chlorinated water onto your lawn—it's terrible for your grass, can harm local wildlife, and might even violate municipal codes.
The easiest fix? Stop adding chemicals and let the sun do the work for you. Over a few days, the chlorine will naturally dissipate. You can double-check with a standard pool test kit to make sure the chlorine level is near zero before you begin.
Once the water is safe, you need a plan for where it's going to go.
- On Your Property: Look for a low-lying spot far from your home's foundation. You need an area that can handle a slow, steady stream of water without turning into a giant mud pit.
- Sanitary Sewer Access: Some towns allow you to drain pool water into the sanitary sewer through a cleanout port. Never drain into a storm sewer unless you have explicit permission from your municipality, as these drains often lead directly into local rivers and streams.
- Hire a Pro: If you want a completely hands-off approach, a junk removal service can handle the entire draining process, making sure everything is done according to local regulations.
Managing the Flow
If you're using a submersible pump, set it up in the center of the pool, away from the liner walls so you don’t accidentally suck the liner in and damage it. Make sure you secure the drainage hose so it doesn’t whip around from the water pressure once you turn it on.
Keep a close eye on the flow rate. A powerful pump can overwhelm your yard faster than you think, so you might need to drain in stages to let the ground absorb the water.
Pro Tip: No matter how good your pump is, it will always leave a few inches of water at the bottom. The easiest way to deal with this is to use a utility knife to carefully cut a few small "X" shapes in the liner near the outer edge. This allows the last bit of water to drain out harmlessly underneath the pool.
The popularity of backyard pools keeps climbing, which means the need for responsible removal services will rise right along with it. The global above-ground pools market was valued at around $3.26 billion and is projected to hit $4.86 billion by 2032. This growth really highlights how important it is for homeowners to know how to properly dismantle and dispose of these pools when they've reached the end of their life. You can read more about these market trends and their impact on removal services.
Dismantling the Pool Frame and Liner
With the water gone, your backyard probably looks a lot bigger—and a lot messier. Now the real work begins. Taking down the pool's frame and liner isn't about brute force; it’s a methodical process. If you want to reuse or sell the pool, you'll need to be strategic to avoid damaging any of the parts.
This simple flowchart lays out the first few critical steps you need to complete before you even think about touching the frame.
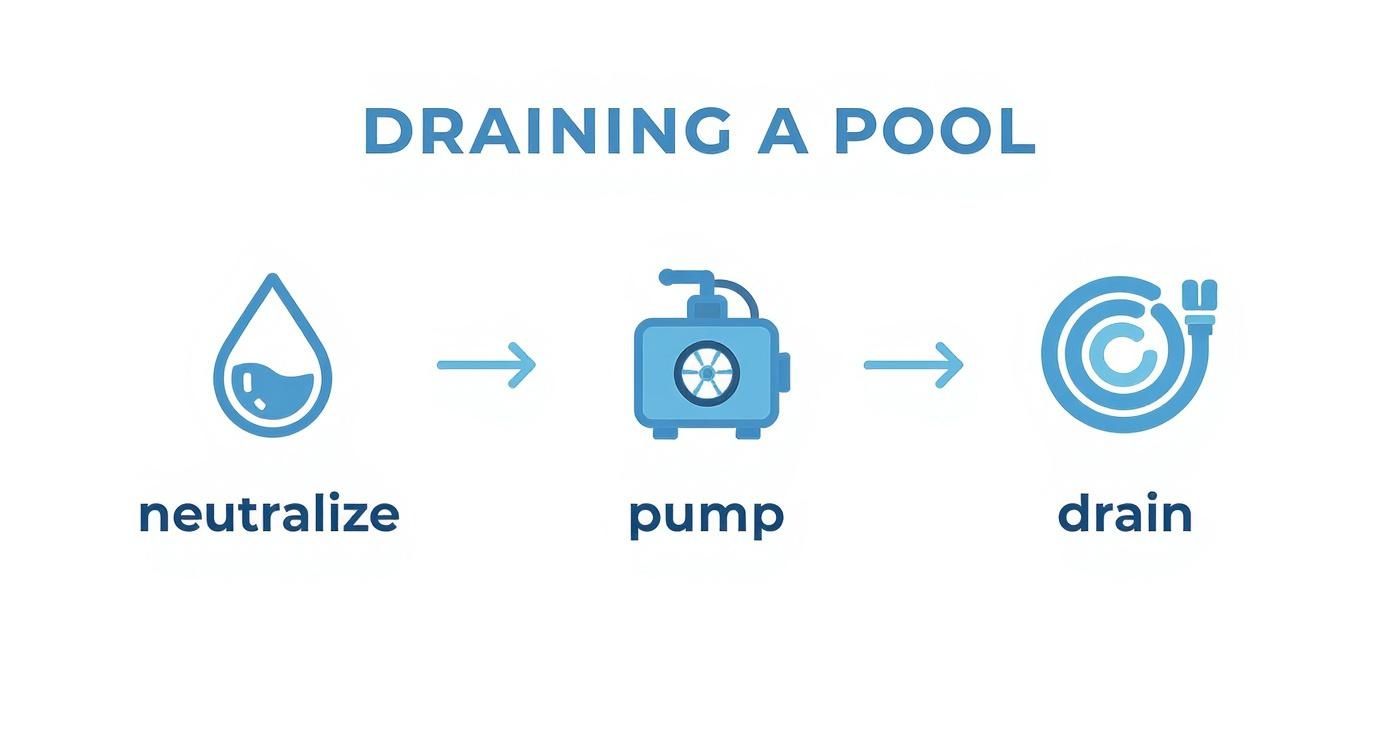
As you can see, getting the chemicals neutralized and the water pumped out safely are the foundation for everything that comes next.
Disconnect the Pump and Filter System
First things first: safety. Before you touch a single hose or wire, head to your circuit breaker and turn off the power to the pump. This is a non-negotiable step to prevent any risk of electrical shock. Once you're 100% sure the power is dead, you can unplug the pump and start disconnecting the hoses that run to the skimmer and return fittings.
This is a good time to inspect the equipment. Is it in good shape? You might be able to sell it with the pool. If it's seen better days, make sure you dispose of it properly. Pumps and filters contain metals and plastics that don’t belong in a landfill.
Pro Tip: Grab a can of penetrating oil like WD-40 before you start. After years of exposure to water and chemicals, every screw and bolt is going to fight you. A quick spray will save you a ton of time, effort, and stripped screw heads.
Carefully Remove the Pool Liner
With the pump and filter out of the picture, it's time to deal with the liner. If your goal is to save it, patience is key. Start by popping off the plastic coping strips that clip the liner onto the top of the pool wall. As you release it, carefully lift the liner away from the wall and fold it toward the center of the pool.
On the other hand, if the liner is old, brittle, or torn, the job gets a lot easier. Just grab a utility knife and slice it into smaller, manageable sections. A 24-foot round liner is surprisingly heavy and awkward to handle in one piece. Cutting it into strips makes it much easier to roll up and haul away.
Break Down the Frame Systematically
Now, let's tackle the main structure. The key here is to work from the top down. This keeps the structure as stable as possible for as long as possible.
- Remove Top Rails and Caps: Start by unscrewing the top rails and taking off the decorative caps that cover the joints. This is where those labeled bags come in handy—keep all the hardware from one section together so you don't go crazy during reassembly.
- Detach Vertical Supports: With the top rails gone, the vertical support posts are next. They're usually held by a few bolts at the base or may just slide out of their tracks.
- Handle the Wall Panels: This is often the trickiest part. The coiled metal wall is under tension, so you need to be careful. I highly recommend grabbing a friend for this step. As you remove the last bolts holding the wall together, it will want to spring open. Have your helper hold it steady as you guide it to uncoil slowly, then roll it up tightly for moving.
For more helpful guides on home and property cleanouts, you can find valuable insights on our Fulton Junk Removal blog.
Taking Care of Your Pool Parts for the Off-Season
With the frame disassembled, you're now looking at a pile of parts. Don't just toss them in the shed! Taking the time to properly clean and store everything is what separates a pool that lasts for years from one that's a moldy, rusty mess next spring. This step is all about protecting your investment.
Clean and Dry the Pool Liner Like a Pro
The liner is easily the most important—and vulnerable—part of the whole setup. If you don't get this right, you'll be greeted by a wall of mildew when you unroll it next year.
First, find a clean, flat spot to lay it out completely. A large tarp on your lawn or a clean driveway works perfectly. Give it a thorough wash using a simple solution of mild soap (like dish soap) and water. This is usually all you need to scrub off the grime, sunscreen residue, and leftover chemicals.
Stay away from harsh cleaners like bleach. While it might seem like a good idea for killing germs, it can actually damage the vinyl and make it brittle over time. After a good scrub, rinse it completely until no soap suds remain.
Now for the most critical part: let it air dry 100%. I mean bone-dry. Flip it over and make sure the other side is just as dry. Even a hint of moisture trapped inside a folded liner is a guaranteed recipe for a moldy disaster.
Prepping the Liner and Frame for Hibernation
Once you're absolutely sure the liner is dry, here’s a trick I learned years ago: lightly sprinkle it with talcum powder or even cornstarch. This simple step keeps the vinyl from sticking to itself, which makes unfolding it next season a breeze. When you're ready to put it away, roll the liner up tightly instead of folding it. Folding creates sharp creases that can weaken and crack over the winter.
Next up, give the metal frame components a once-over. Inspect every top rail, vertical post, and connector for any signs of rust or corrosion. A little preventative maintenance now goes a long way.
- For minor rust: A wire brush or some sandpaper will usually do the trick.
- For tougher spots: After scrubbing the rust off, hit the area with a rust-inhibiting primer or spray paint. This seals the metal and stops the rust from spreading while it's in storage.
Trust me on this one: Spending an hour touching up a few rust spots now can save you from buying expensive replacement parts later. It’s probably the most cost-effective thing you can do for your pool's longevity.
Finally, gather up all the small hardware. Get some Ziploc bags and label them clearly—"top rail screws," "leg bolts," etc. You'll thank yourself when you're not guessing where everything goes next year.
Store everything in a dry place that’s safe from critters, like a garage, basement, or a well-sealed shed. I recommend stacking the parts on a couple of wood pallets to keep them off the concrete floor, which helps prevent moisture from seeping in. Do this right, and your pool will be ready for another season of fun the moment the weather turns warm.
Eco-Friendly Pool Disposal And Junk Removal
So, you’ve done the hard work of dismantling your pool. Now you're staring at a huge pile of steel walls, a massive vinyl liner, and a bunch of plastic parts and old equipment. The easiest path might seem like a quick trip to the local dump, but that comes with a pretty big environmental cost.
Landfills are already overflowing, and these bulky, non-biodegradable pool parts will just sit there for decades, taking up valuable space.
Choosing a smarter, more responsible disposal method is the final, crucial step in taking down an above-ground pool correctly. You'd be surprised how much of your old pool can be repurposed or recycled, keeping it completely out of the waste stream.
Moving Beyond The Landfill
A sustainable approach always starts with sorting. Those large steel or aluminum wall panels, upright supports, and top rails are highly recyclable. Most local scrap metal yards will gladly take them off your hands—you might even get paid a little for your trouble.
The vinyl liner, though, is a different story. It’s tricky. Most curbside recycling programs won’t touch it.
This is where a dedicated junk removal service with a genuine eco-friendly focus makes a world of difference. While most junk haulers take everything straight to the landfill, Fulton Junk Removal operates under Beyond Surplus, providing a circular, eco-friendly solution. We work hand-in-hand to recycle metals, electronics, and other materials responsibly, ensuring they're repurposed or diverted from landfills. We can even offer bundled junk removal and recycling pickups for a streamlined, sustainable process.
Choosing a junk removal service that prioritizes recycling isn't just about convenience—it's about making a conscious choice to reduce your environmental footprint. It turns a disposal problem into a sustainable solution.
For property managers, offices, or warehouses tackling large-scale cleanouts, this partnership is a game-changer. Fulton Junk Removal handles all the heavy lifting, while Beyond Surplus ensures everything is recycled responsibly. This integrated approach makes sustainability reporting and compliance simple and effective for your business.
Disposal Method Comparison
When you're deciding how to get rid of all those pool parts, it helps to weigh the effort, cost, and environmental impact of each option. This table breaks down the most common choices to help you see what makes the most sense for your situation.
| Disposal Method | Environmental Impact | Effort Level | Best For |
|---|---|---|---|
| DIY Landfill Trip | High | High | Homeowners with a large truck and a small pool. |
| DIY Recycling | Low | High | Individuals who have the time to sort and transport materials to different facilities. |
| Fulton Junk Removal | Very Low | Low | Environmentally conscious homeowners, property managers, and businesses seeking a fast, responsible solution. |
Ultimately, opting for a professional service that offers a circular, eco-friendly solution just simplifies the entire process. You won't have to worry about sorting metals, finding a facility that will take the liner, or spending your entire weekend hauling heavy, awkward debris.
Learn more about how our comprehensive junk removal services can provide a seamless and sustainable end to your pool removal project.
Deciding Between DIY and Professional Removal
Tackling an above-ground pool removal yourself can feel like a great way to save a few bucks, but it’s not always the smartest or safest route. Before you commit to a weekend of back-breaking labor and potential headaches, it’s worth taking a minute to honestly assess what you’re up against.
Sometimes, the scale of the job just calls for a professional touch. Knowing when to hand over the reins can be the difference between a project that’s done and dusted and a half-finished eyesore sitting in your yard for weeks on end.
When to Call a Professional
Certain situations can quickly turn a straightforward DIY job into a complex and risky one. If your pool takedown involves any of the following, hiring a pro is a wise investment to avoid property damage, personal injury, or a project that spirals out of control.
- Large Pools: Got a pool over 24 feet in diameter? You're dealing with massive, heavy components. That coiled steel wall, in particular, can be incredibly dangerous and unwieldy to handle without a proper team and equipment.
- Integrated Decking: If your pool is built into a deck, the job is no longer just a simple disassembly. It's a complex deconstruction project that requires specialized tools and carpentry skills to avoid damaging the surrounding structure.
- Tricky Access: A narrow side yard, a steep slope, or limited entry points for hauling away debris can turn the removal into a logistical nightmare. Pros have the equipment and experience to navigate these challenges.
A professional removal service isn't just about hauling junk away. It's about having an experienced crew with the right tools to handle heavy materials safely, navigate difficult properties, and manage the entire process from draining to final site cleanup.
Understanding the Costs and Benefits
The biggest draw of DIY is, of course, saving money. But you have to weigh that against what a professional service brings to the table: saving your time, preventing costly mistakes, and ensuring every last piece of the old pool is disposed of responsibly.
The average cost for a professional to remove an above-ground pool in the United States typically falls between $475 and $2,500. This generally covers everything from draining and disassembly to hauling away all the materials. For more complex jobs, like those with extensive decking, you can expect the cost to be higher. You can get a better sense of the investment by checking out more details on pool removal pricing.
For a completely seamless and eco-friendly solution, Fulton Junk Removal is equipped to handle even the most challenging pool removals. Our team manages the entire process, ensuring recyclable materials like metal frames and electronics are processed through our partner, Beyond Surplus, instead of just ending up in a landfill.
If you're looking at a large or complicated pool takedown, contact Fulton Junk Removal today for a free estimate and let our professionals handle the heavy lifting for you.
Common Pool Removal Questions
Taking down an above-ground pool for the last time usually brings up a handful of important questions. Getting the right answers helps you wrap up the project confidently, making sure no little details get missed. Let's tackle some of the things we hear most often, from the best time of year to start, to what happens to your yard afterward.
One of the biggest questions is about timing. While you could technically remove a pool any time of year, the best time is late summer or early fall. The weather is usually drier, which means the ground is firm and you're less likely to create a massive mud pit. Trust me, draining and dismantling a pool during a dry spell is a much cleaner and safer job.
Project Duration and Yard Restoration
People always want to know, "How long is this going to take?" For a typical pool, say around 18-24 feet, a DIY removal is a full weekend project for two people. That covers everything—draining, disassembly, and the first round of cleanup. Professional crews can often knock it out in a single day.
And what about the ground underneath? Can you get your lawn back? Absolutely. The spot will probably have dead grass and some seriously compacted soil, but think of it as a blank canvas.
- Rake and Aerate: The first step is to get in there and vigorously rake the area to break up that hard-packed soil. If you can get your hands on a core aerator, it will make a huge difference in speeding up recovery.
- Add Topsoil and Compost: Next, spread a fresh layer of topsoil and compost. This puts much-needed nutrients back into the ground and creates a healthy bed for new growth.
- Seed or Sod: Depending on how quickly you want a green lawn and what your budget looks like, you can either seed the area or lay down sod for an instant fix.
Keep in mind that it might take a full season for the patch to fully blend in with the rest of your lawn. A little patience goes a long way in restoring the space properly.
Many homeowners also wonder if they can tackle the whole thing by themselves. While it's possible, I wouldn't recommend it. Those steel wall panels are surprisingly heavy and can have sharp edges. If one uncoils on you unexpectedly, it's a serious safety risk. Having at least one other person to help manage the bigger parts is crucial.
For those who'd rather have a completely hands-off experience, it helps to find a company you can trust. You can learn more about the eco-friendly approach that Fulton Junk Removal takes on our about us page.
Ready to reclaim your backyard without the hassle? Fulton Junk Removal offers fast, professional, and eco-friendly pool removal services. We handle everything from disassembly to responsible disposal, so you can enjoy your new space sooner. Get your free, no-obligation estimate today at https://fultonjunkremoval.com.